In this blog we’ll go through detailed explanation of HAAS REVO Thru-post Tensioners and how to install them.
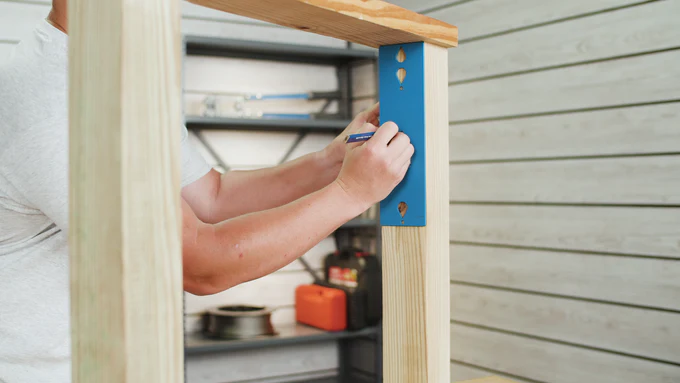
To start, locate your marking template and then mark your posts on each side for the holes that you're going to be drilling. When drilling your posts for through-post cable railing fittings, we've found that the best method is to drill halfway from one side of the post and then halfway from the other so that the two holes will conjoin in the middle. The reason for this is so that the bit won't splinter as it comes out the backside of the post.
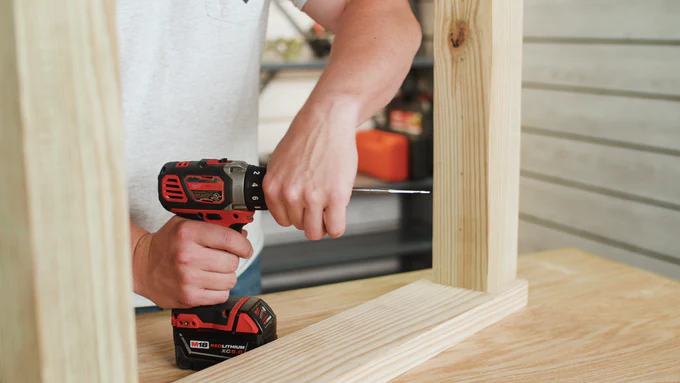
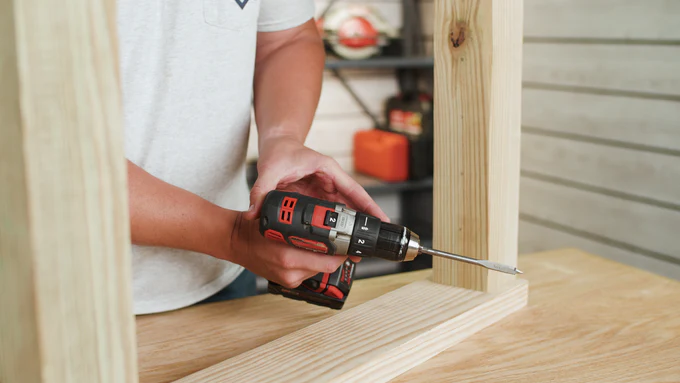
With our holes now marked, grab your drill and 3/8" spade bit and be sure to set your drill to its highest speed setting.
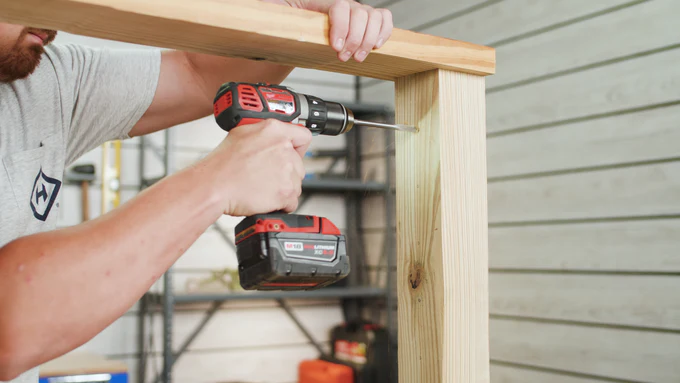
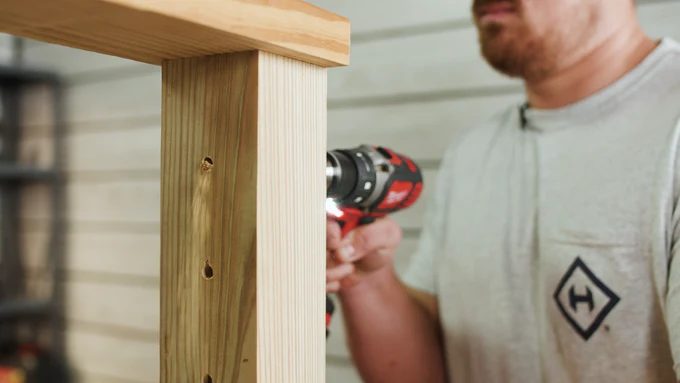
Align the tip of the drill bit with the mark that you have on your post and try and get the drill bit as straight and level in relation to the post as you can. Then start drilling until your hole depth is about halfway through the post. Go ahead and repeat this process for all the remaining marks on that side of the post. Now switch to the other side of the post and repeat this entire process until all your holes are going to match up.
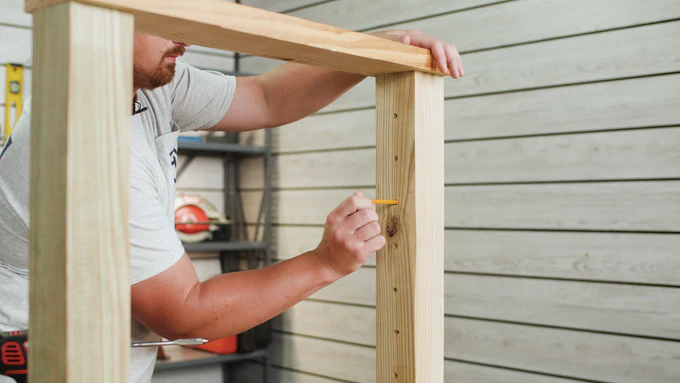
When you're done drilling, be sure to clear out any sawdust that may be left in your holes from drilling.
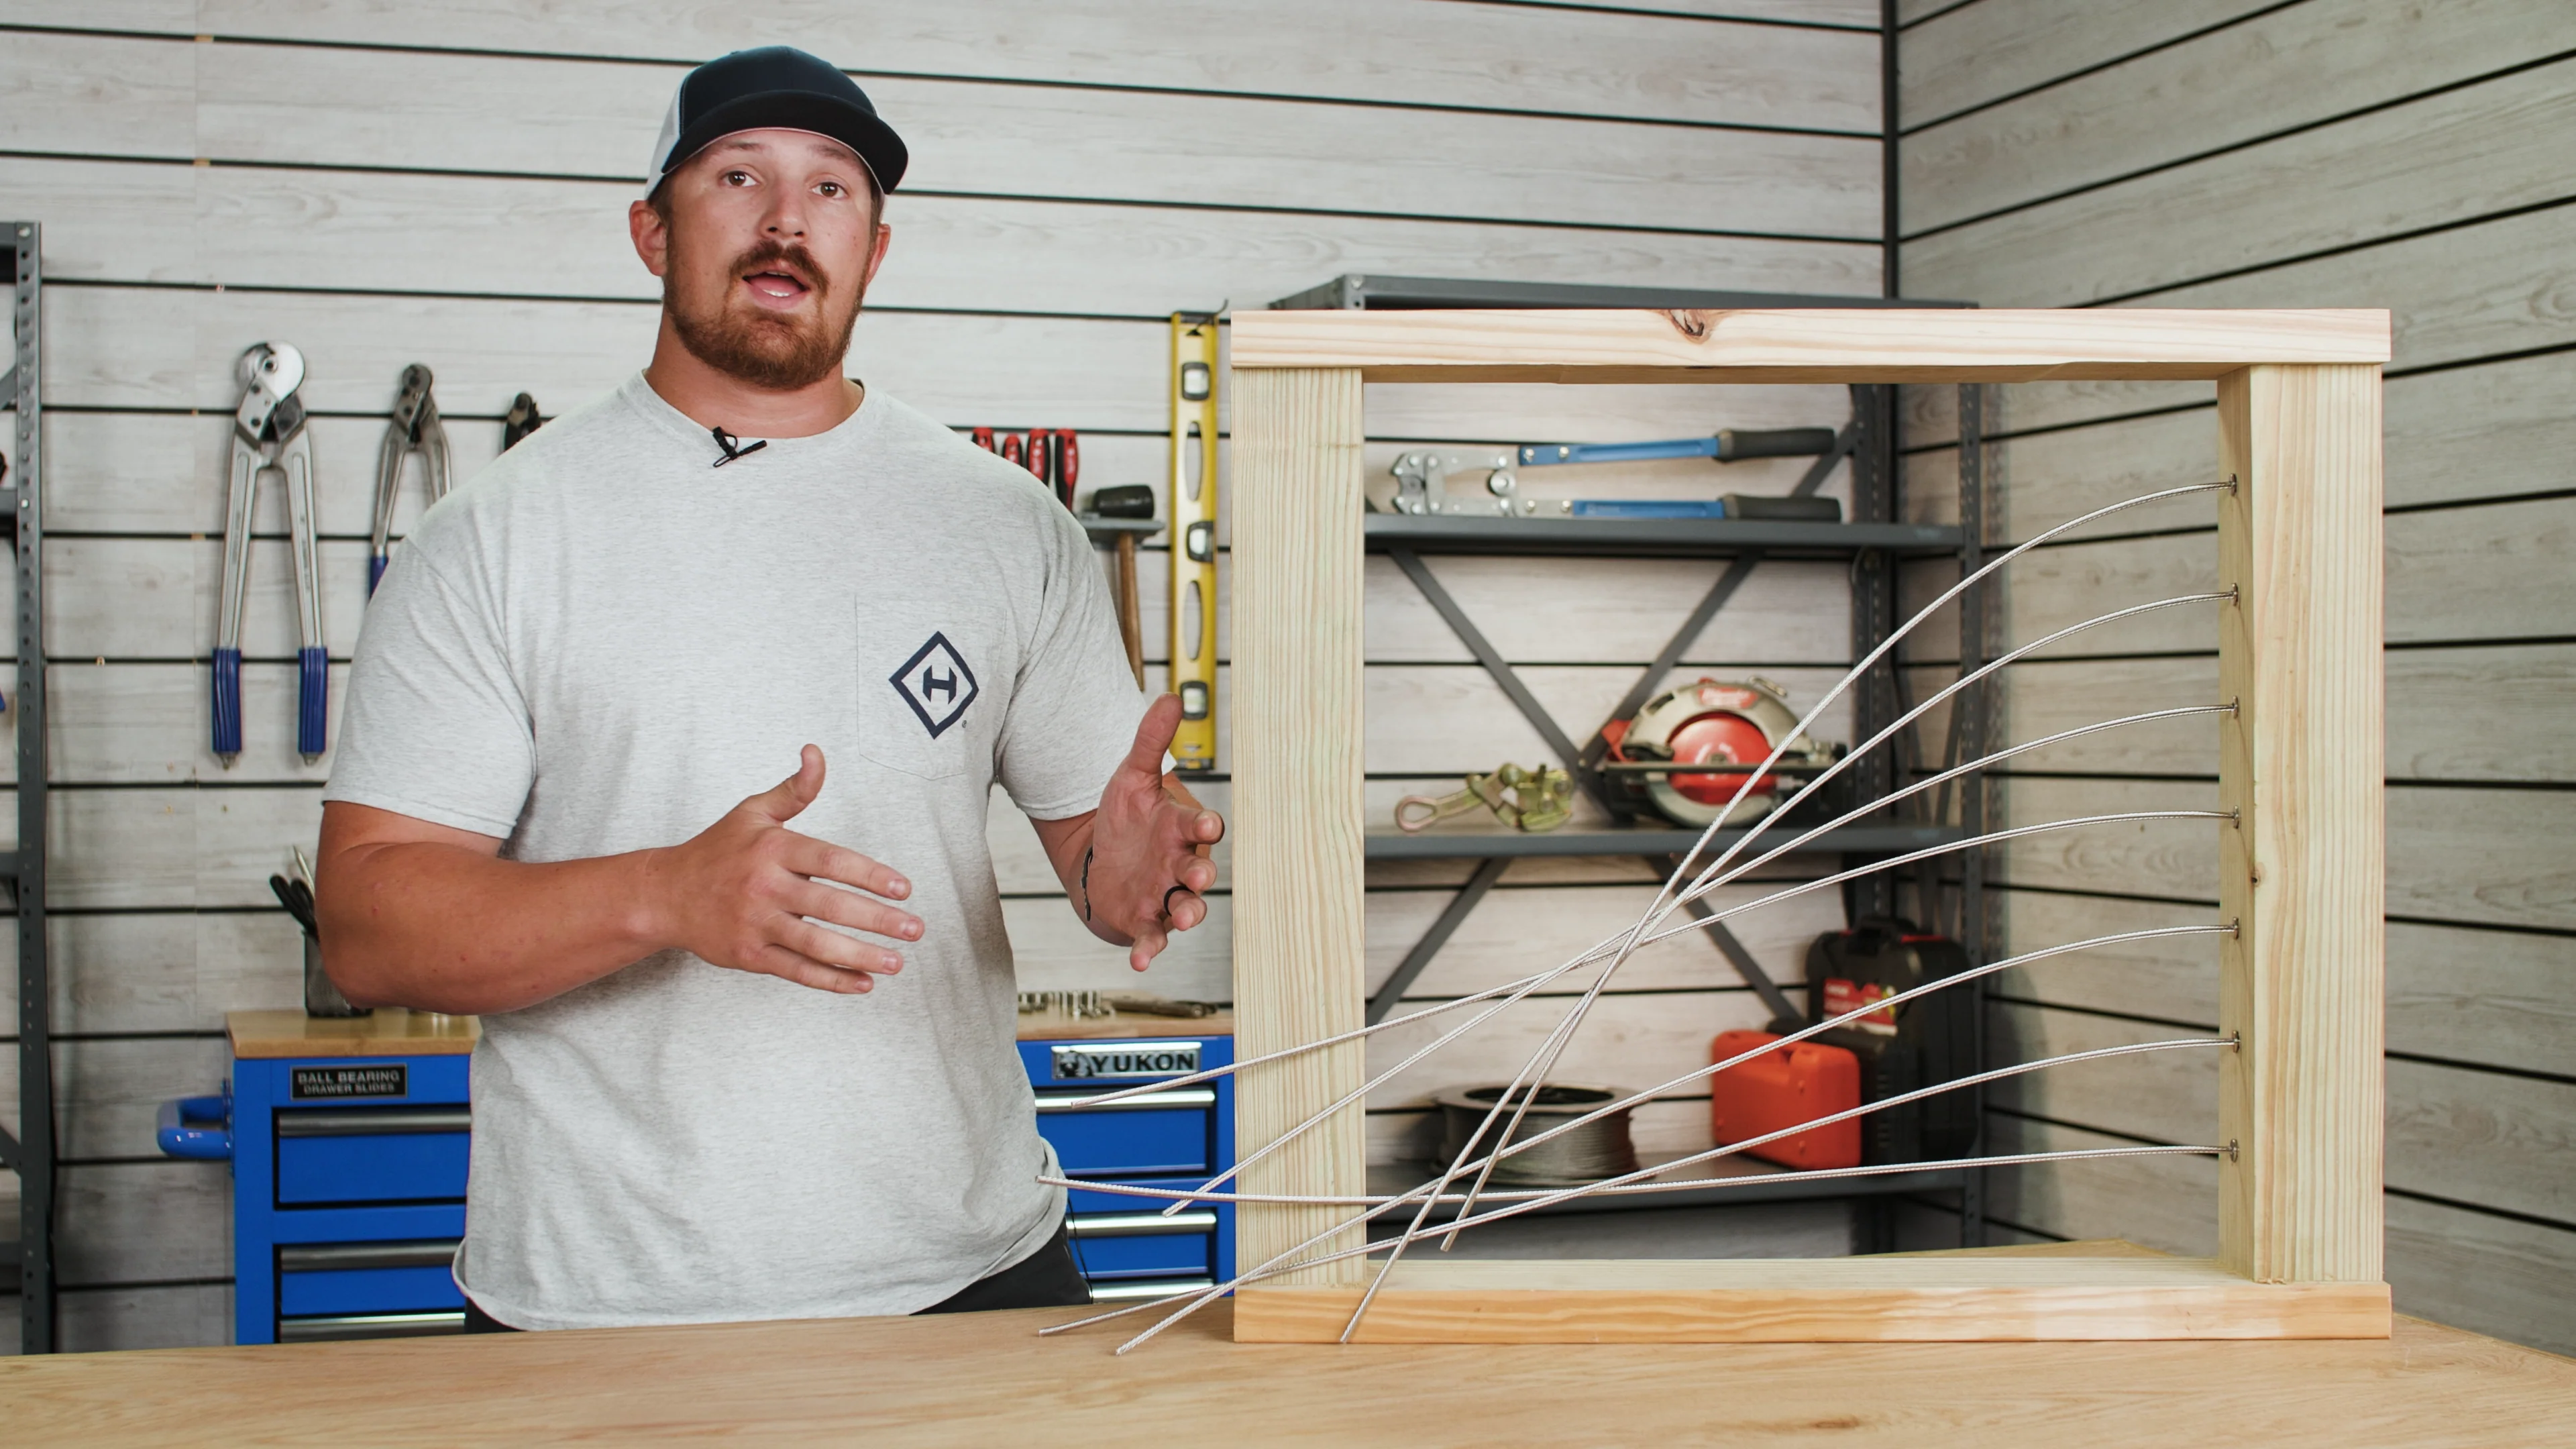
At this point, all your cables should be held in place at the other end of your run by your end stops. Also, your cables should be run through any of the intermediate posts that you might have in your run.
If you haven't installed your end stops yet, then be sure to check out some of the other blog tutorials: HAAS Stainless REVO Standard and Low-Profile Endstops and HAAS Stainless REVO Lag End Stops.
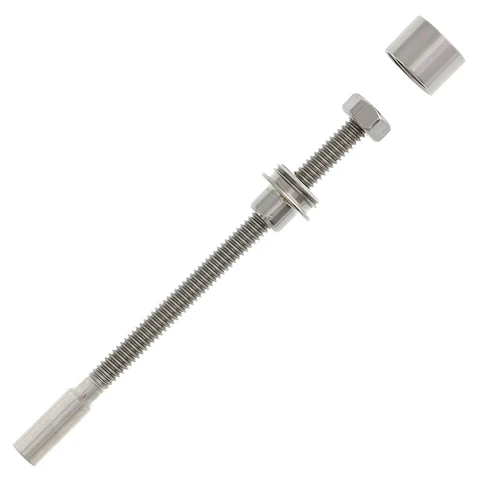
So, your REVO through-post tensioner is going to be composed of four different parts. First, you have your swage stud, which is going to attach to the end of your cable. Next you have your centering bushing, which is going to slide into the mounting hole on the backside of your post, and it's what the threaded stud is going to go through. Then you have your 1/4-20 hex nut, which is going to thread on to your stud and up against the bushing. It's going to be the mechanism that draws your cable tight. And then lastly, you have your end cap, which is going to thread on to the bushing and give you a clean and finished look once you're done installing it.
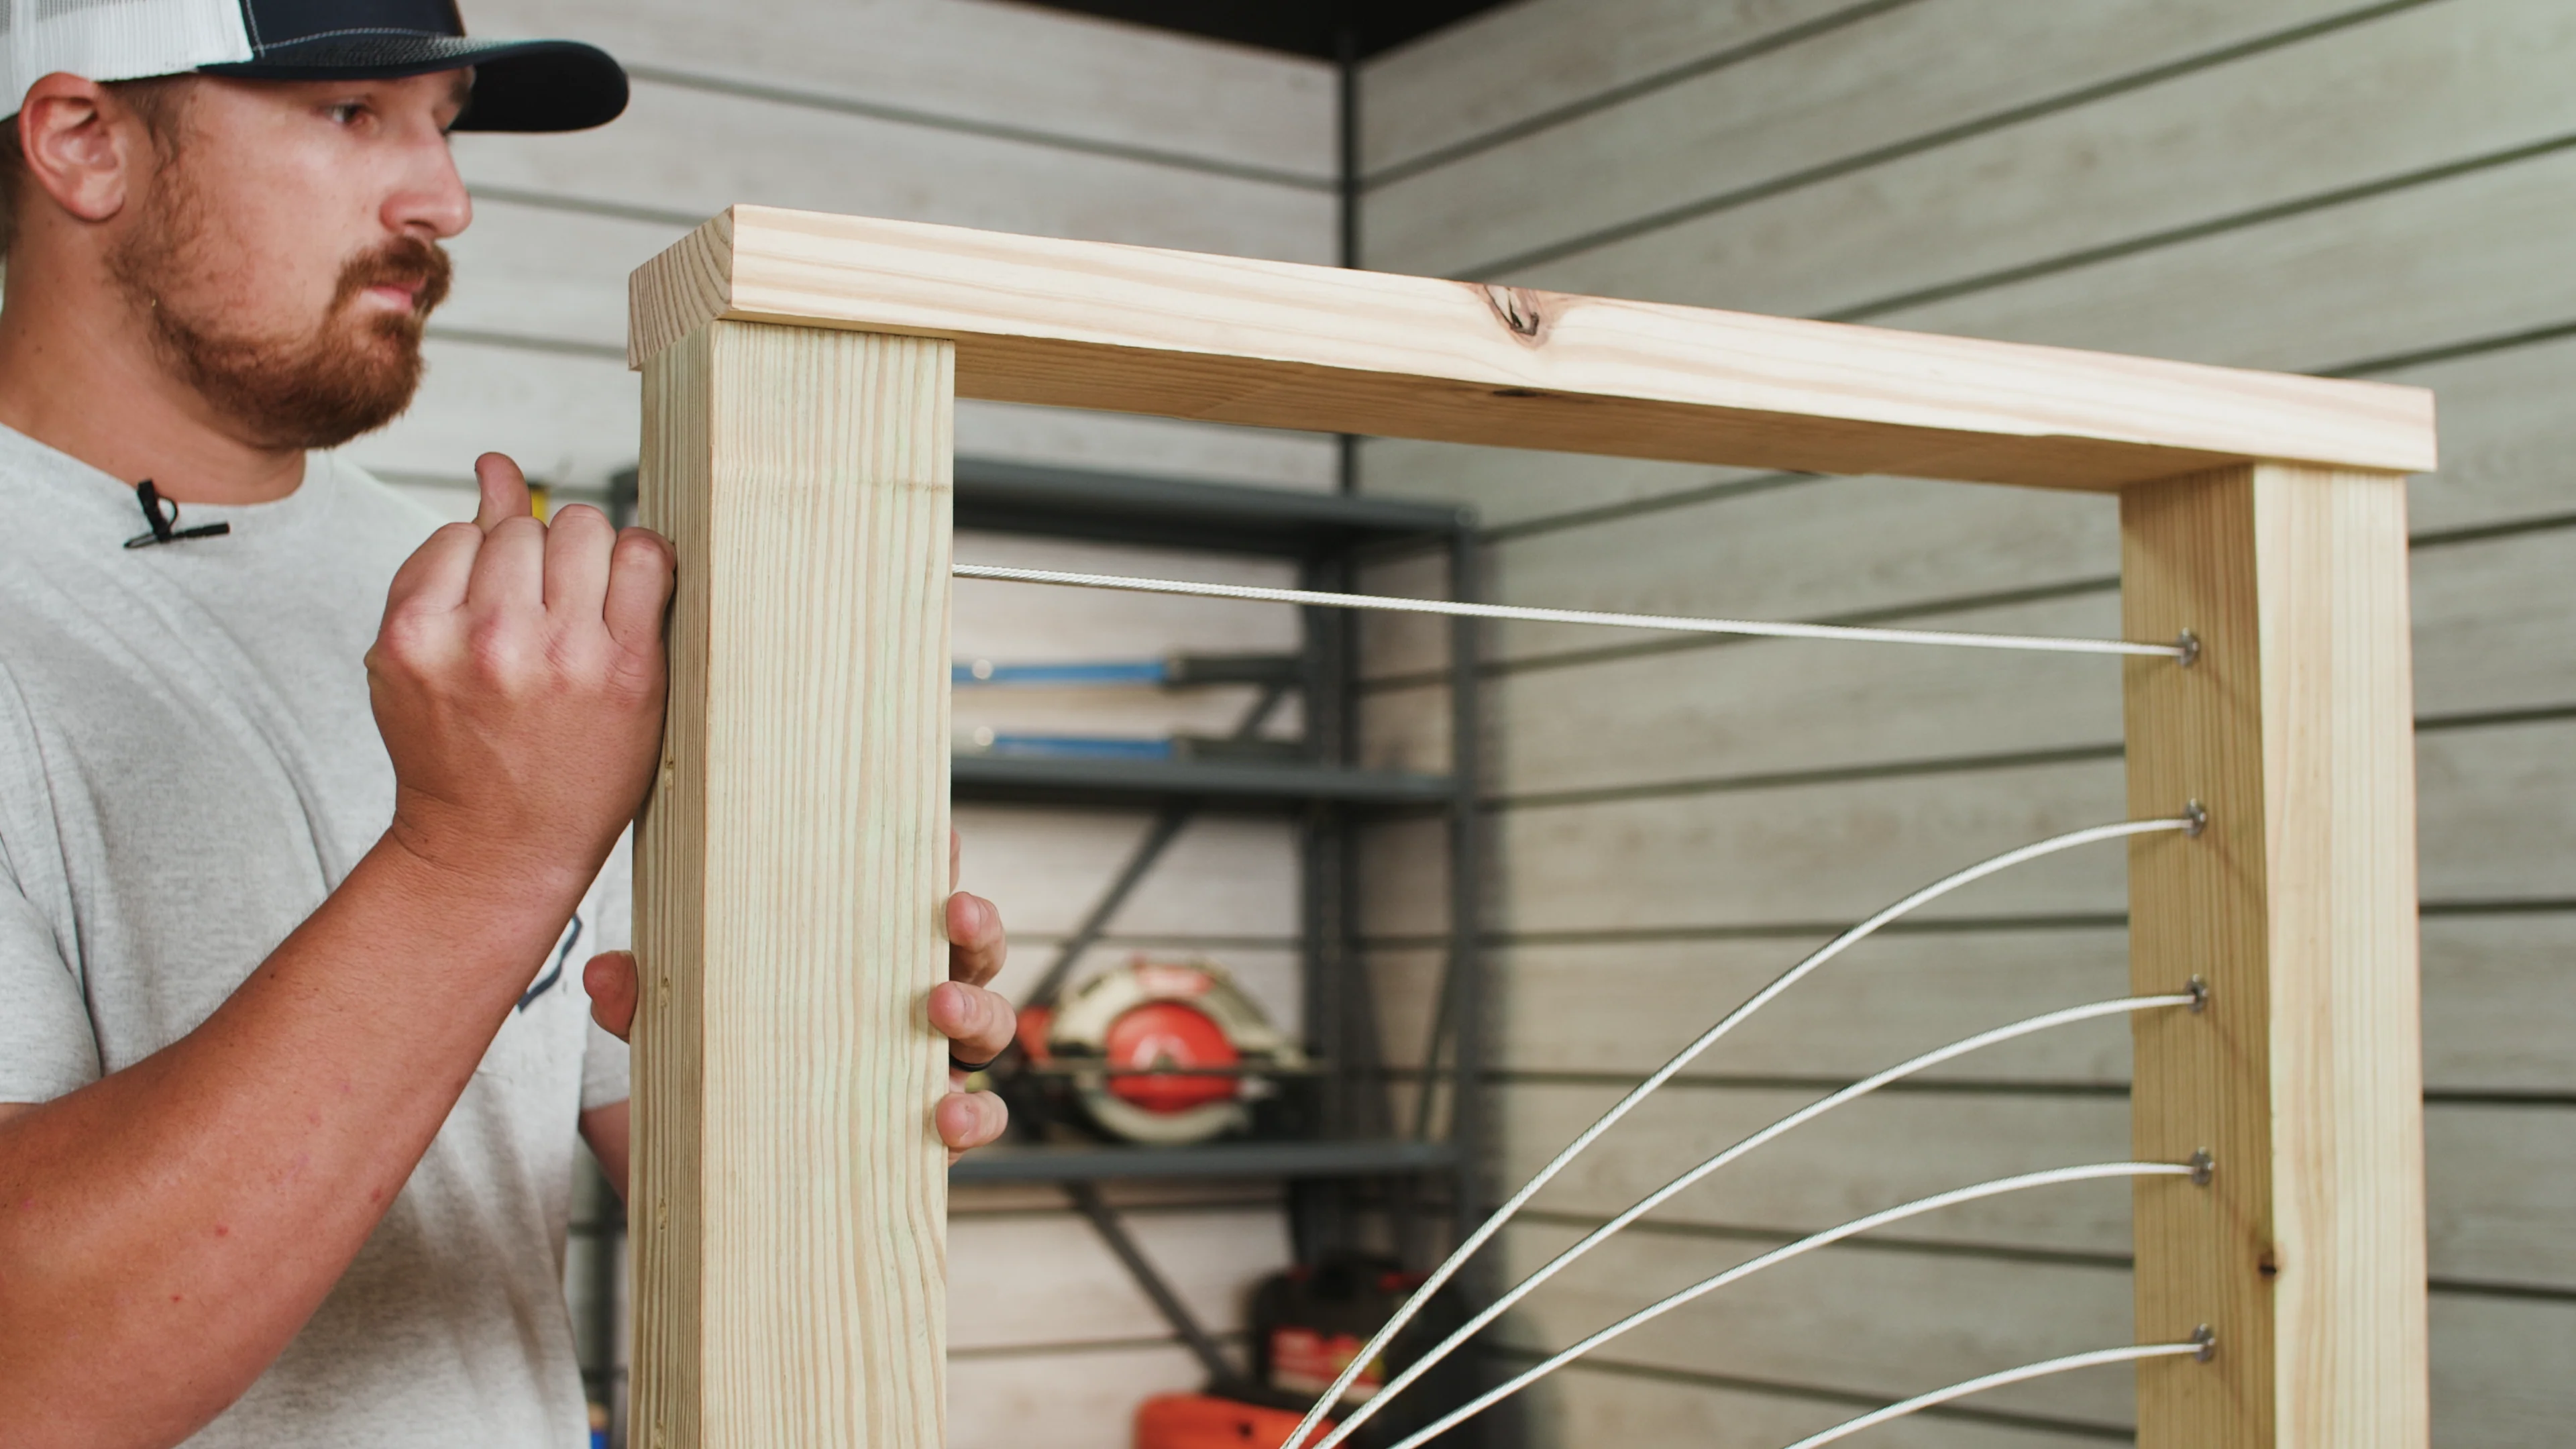
Next, you'll want to trim the cable to the correct length for your tensioning fitting, feed it through the appropriate hole in your post, and then pull it hand tight from the backside of the post so that there is no slack in the cable.
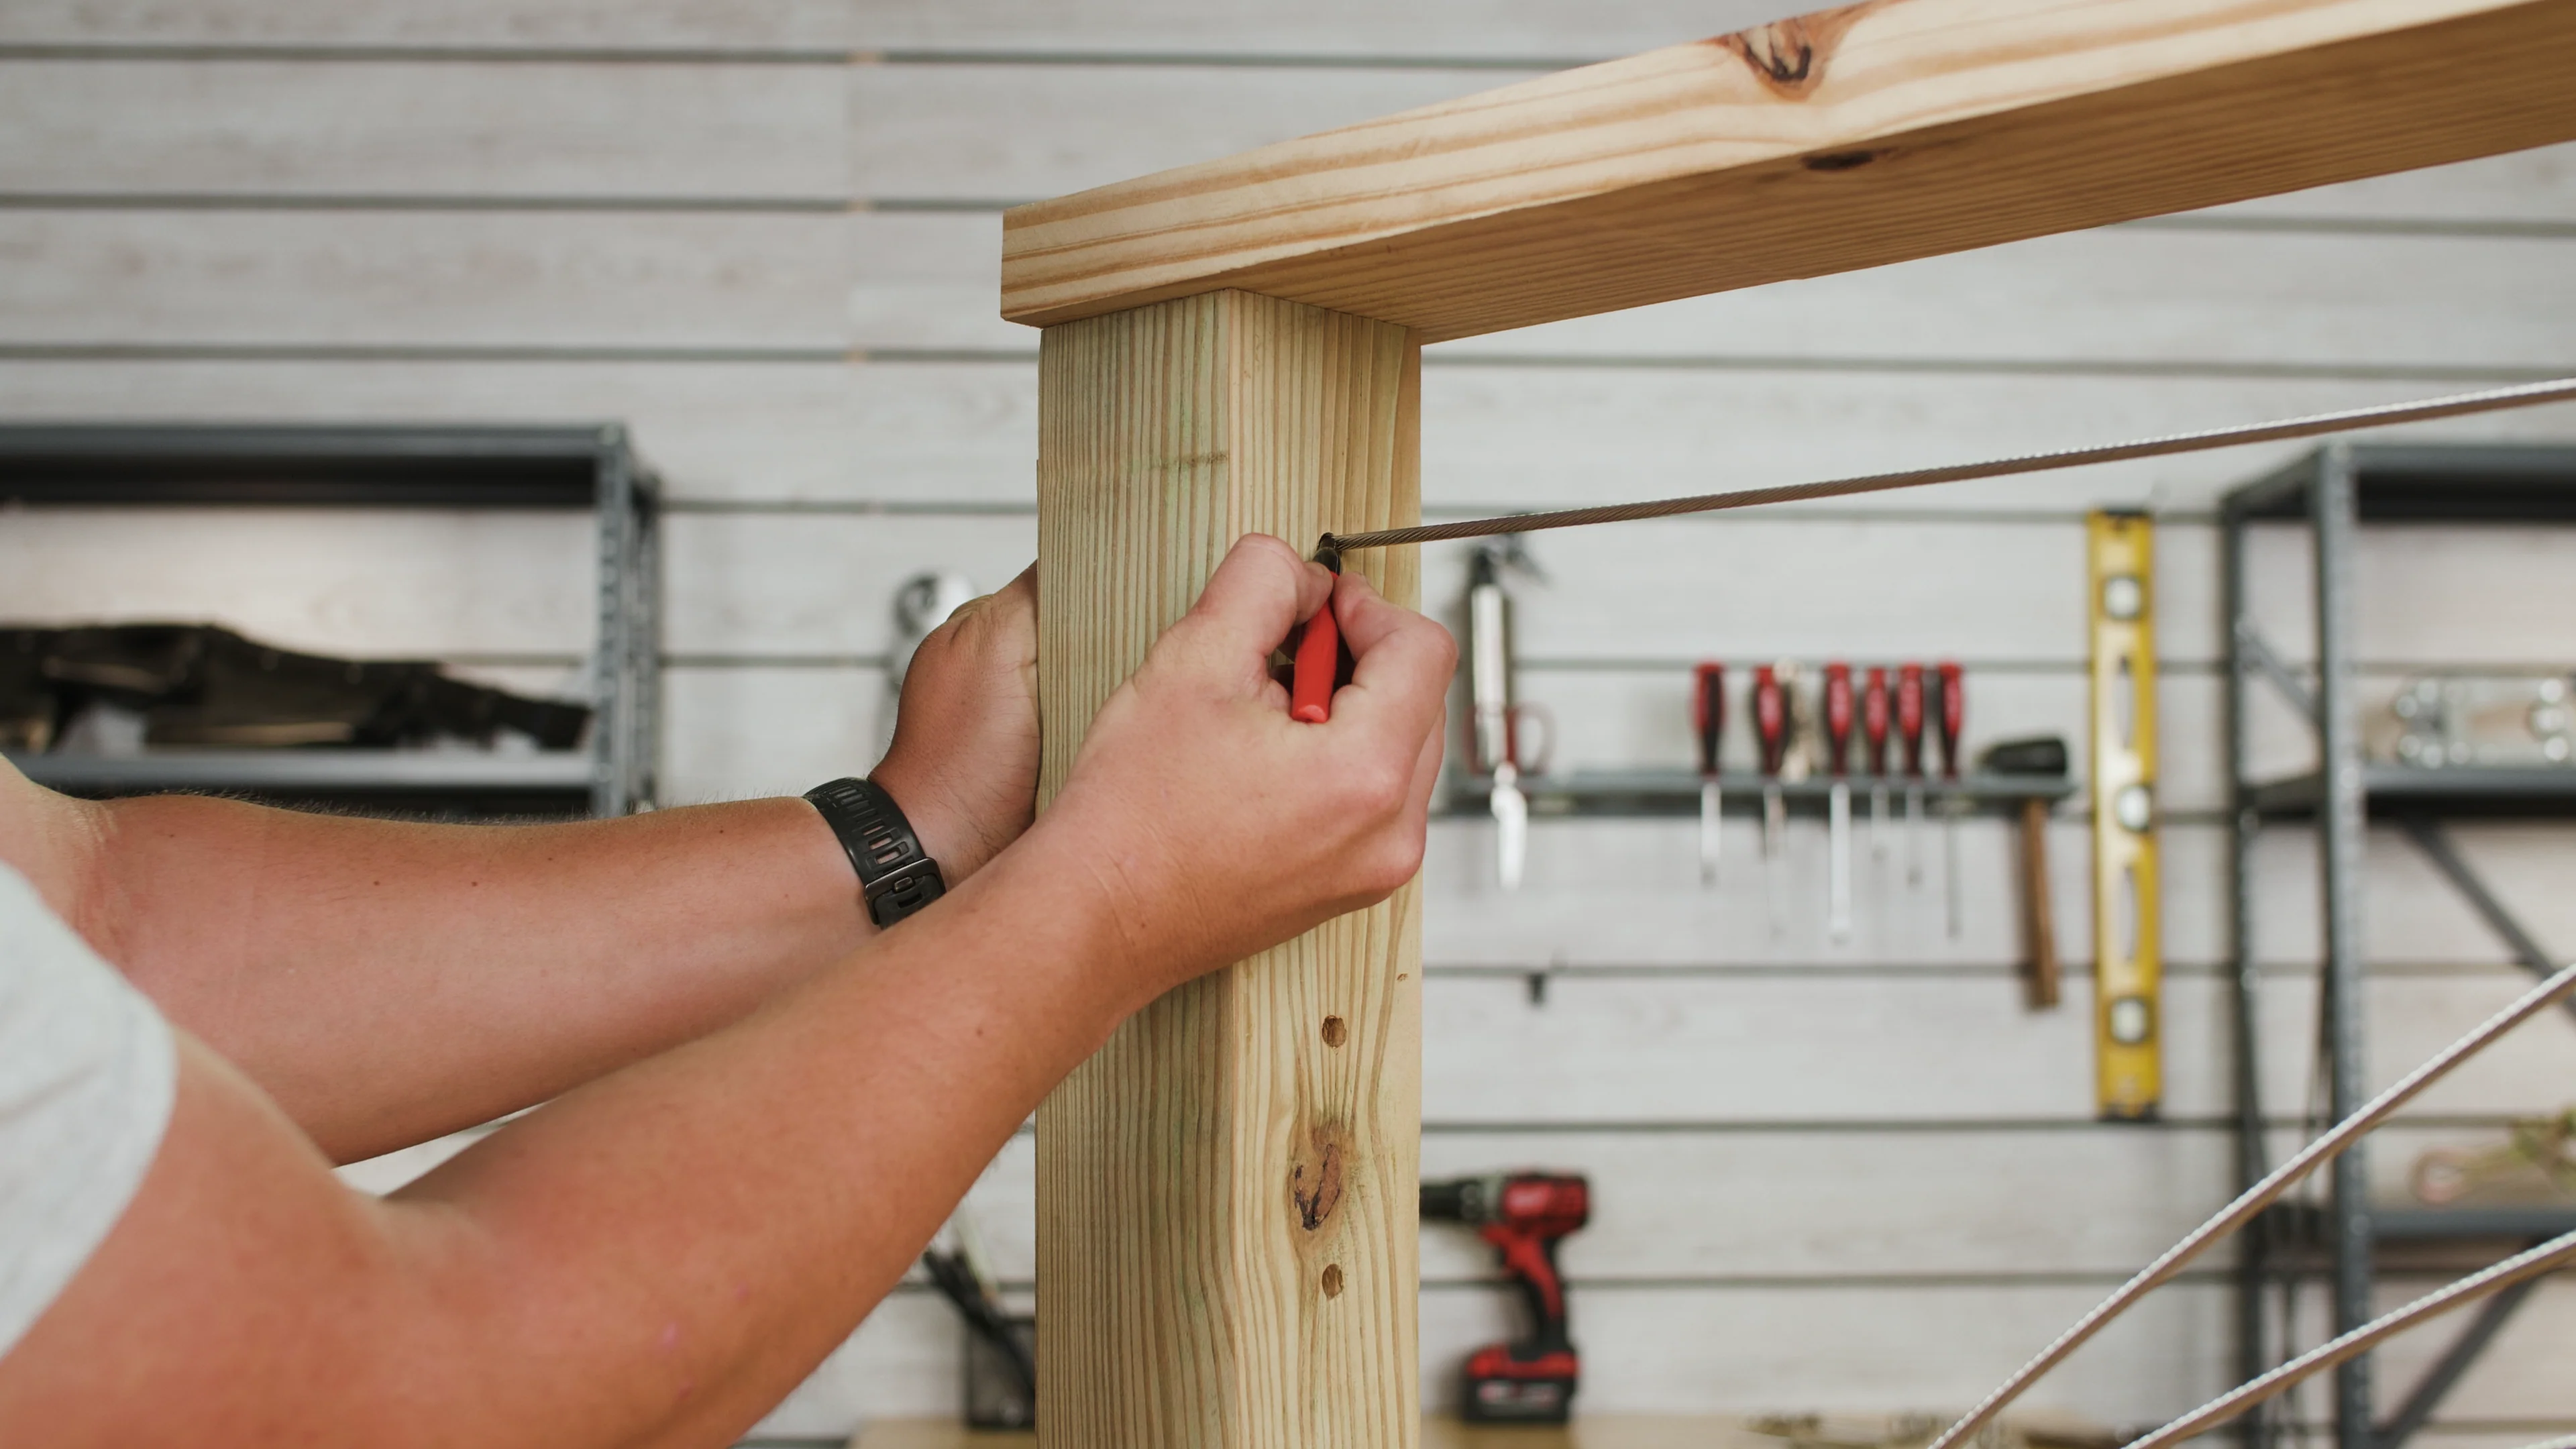
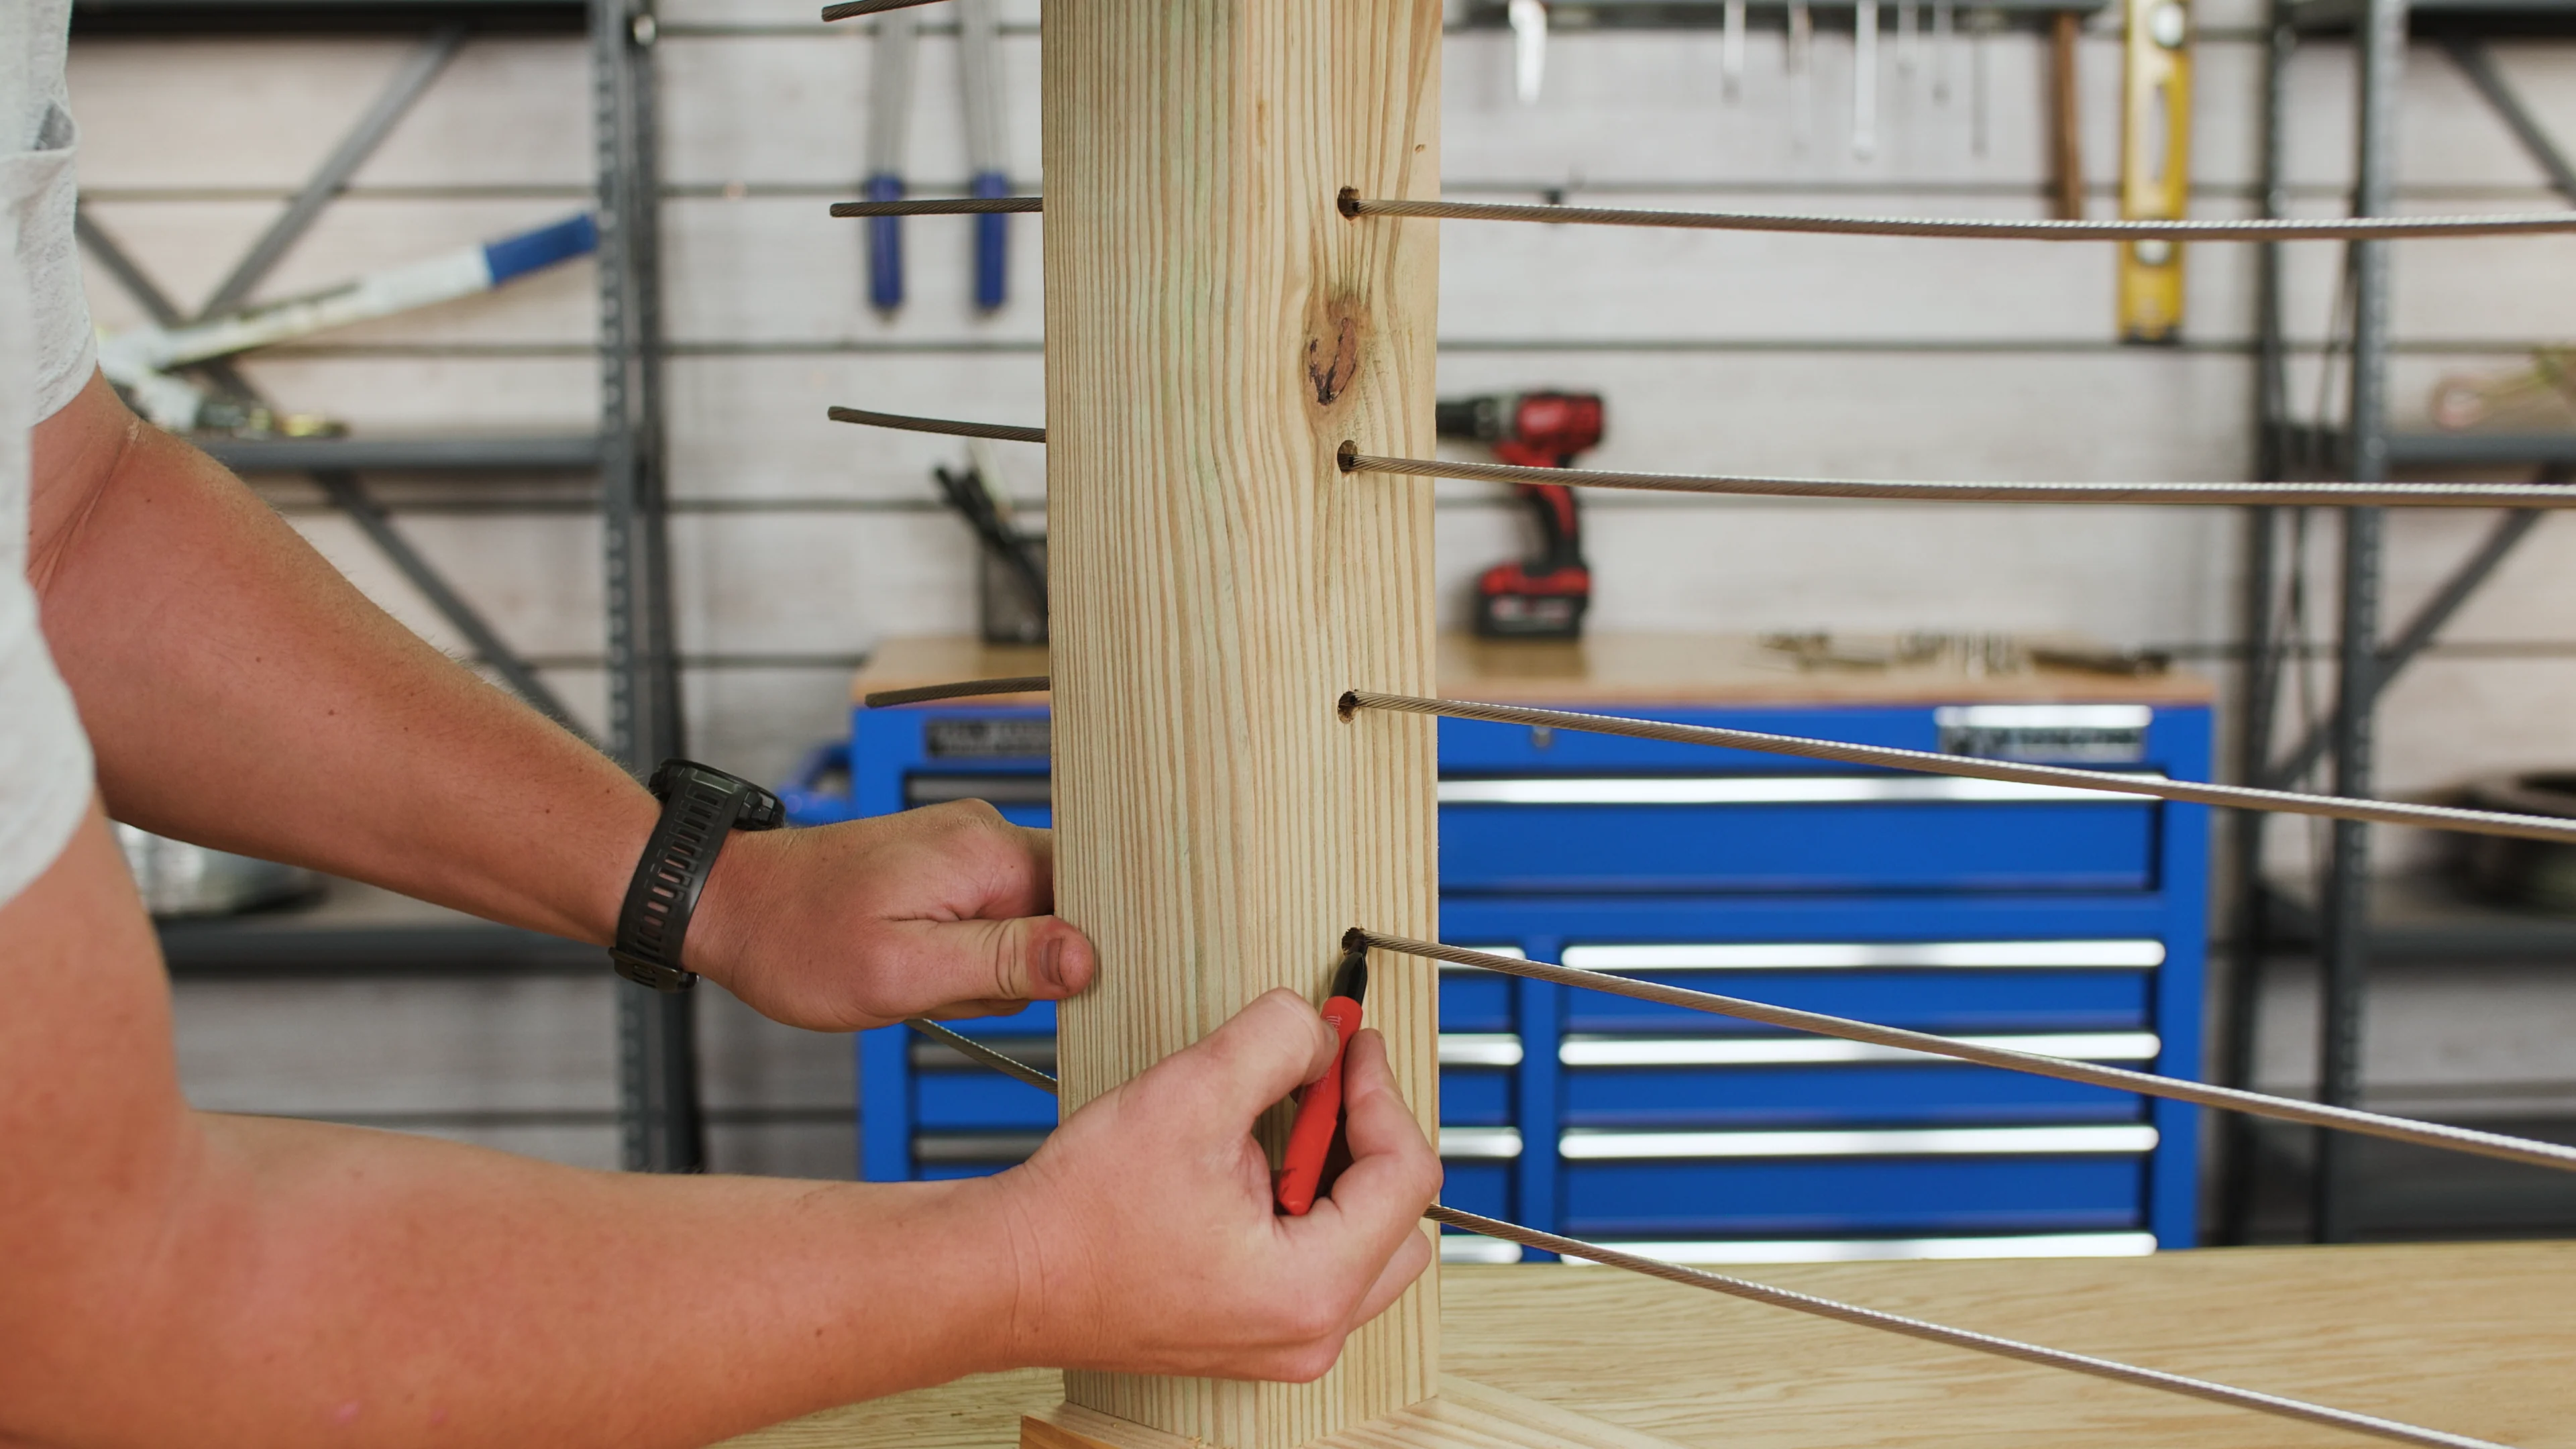
Mark the cable where it's entering the post and then release tension from the cable. Grab a swage stud and then use it to measure your cut mark.
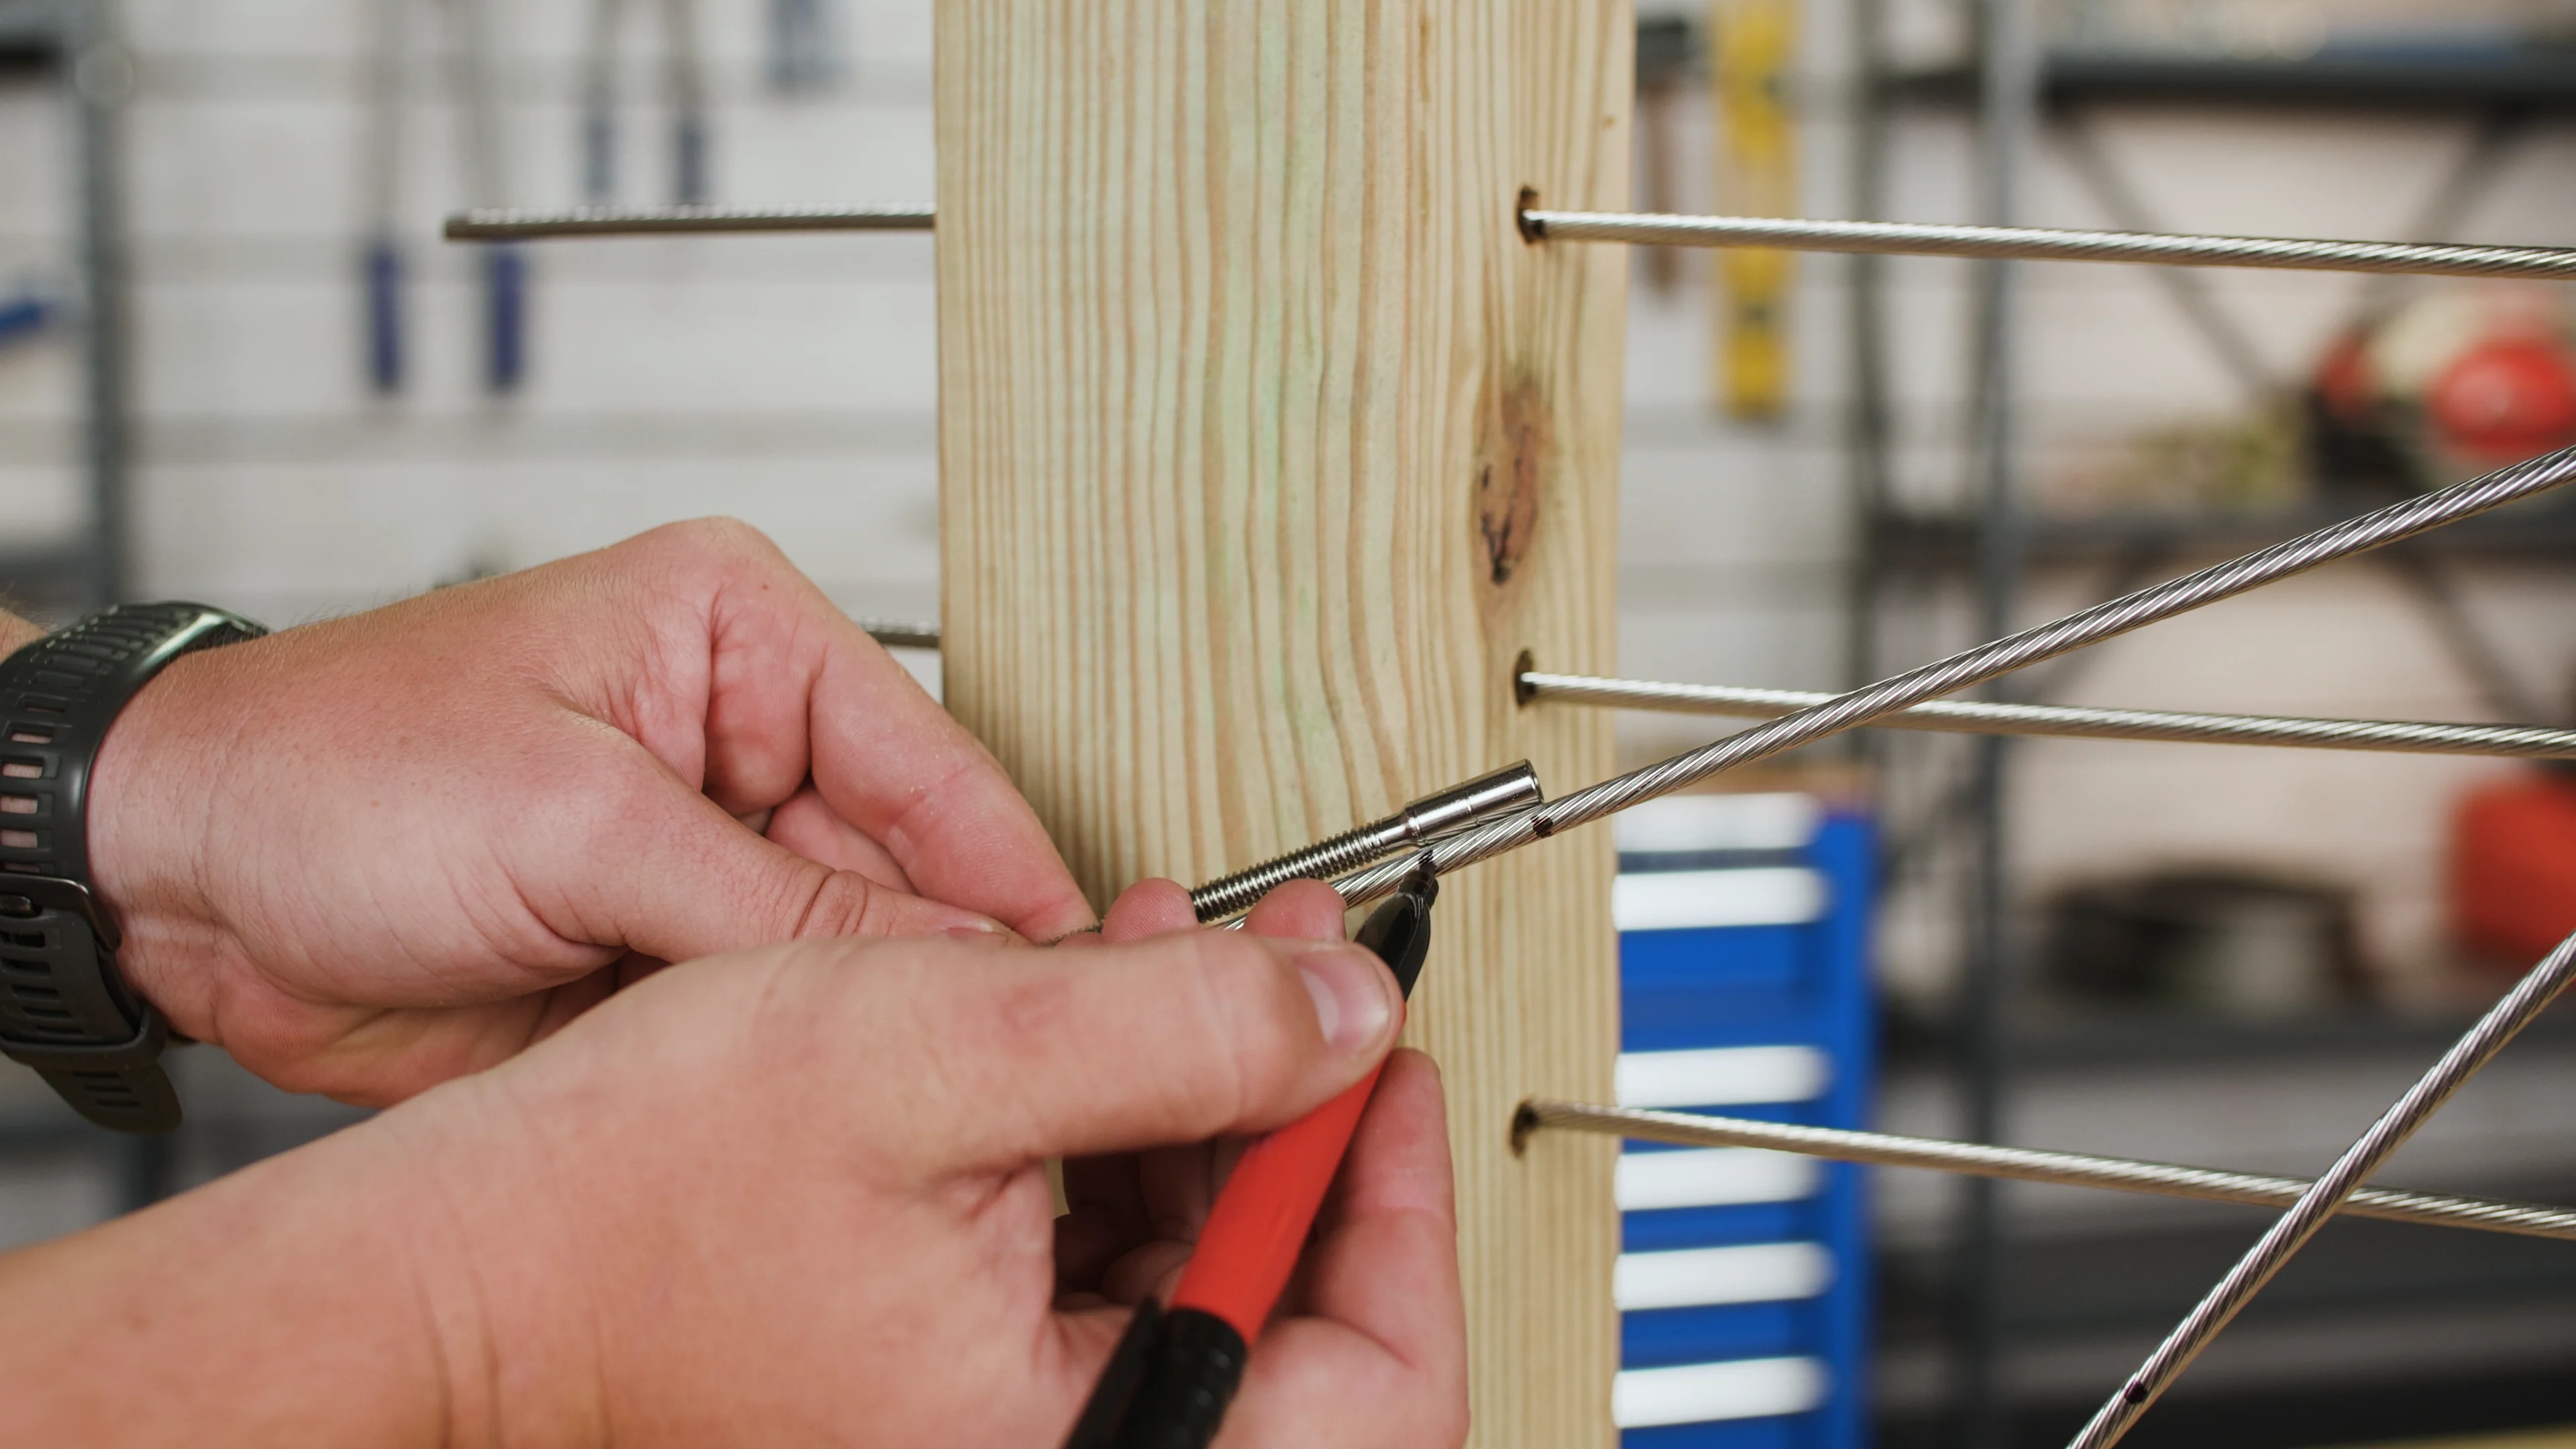
Align the opening of the stud with the first mark that you made on your cable, and then mark the cable at the second indentation line on the stud.
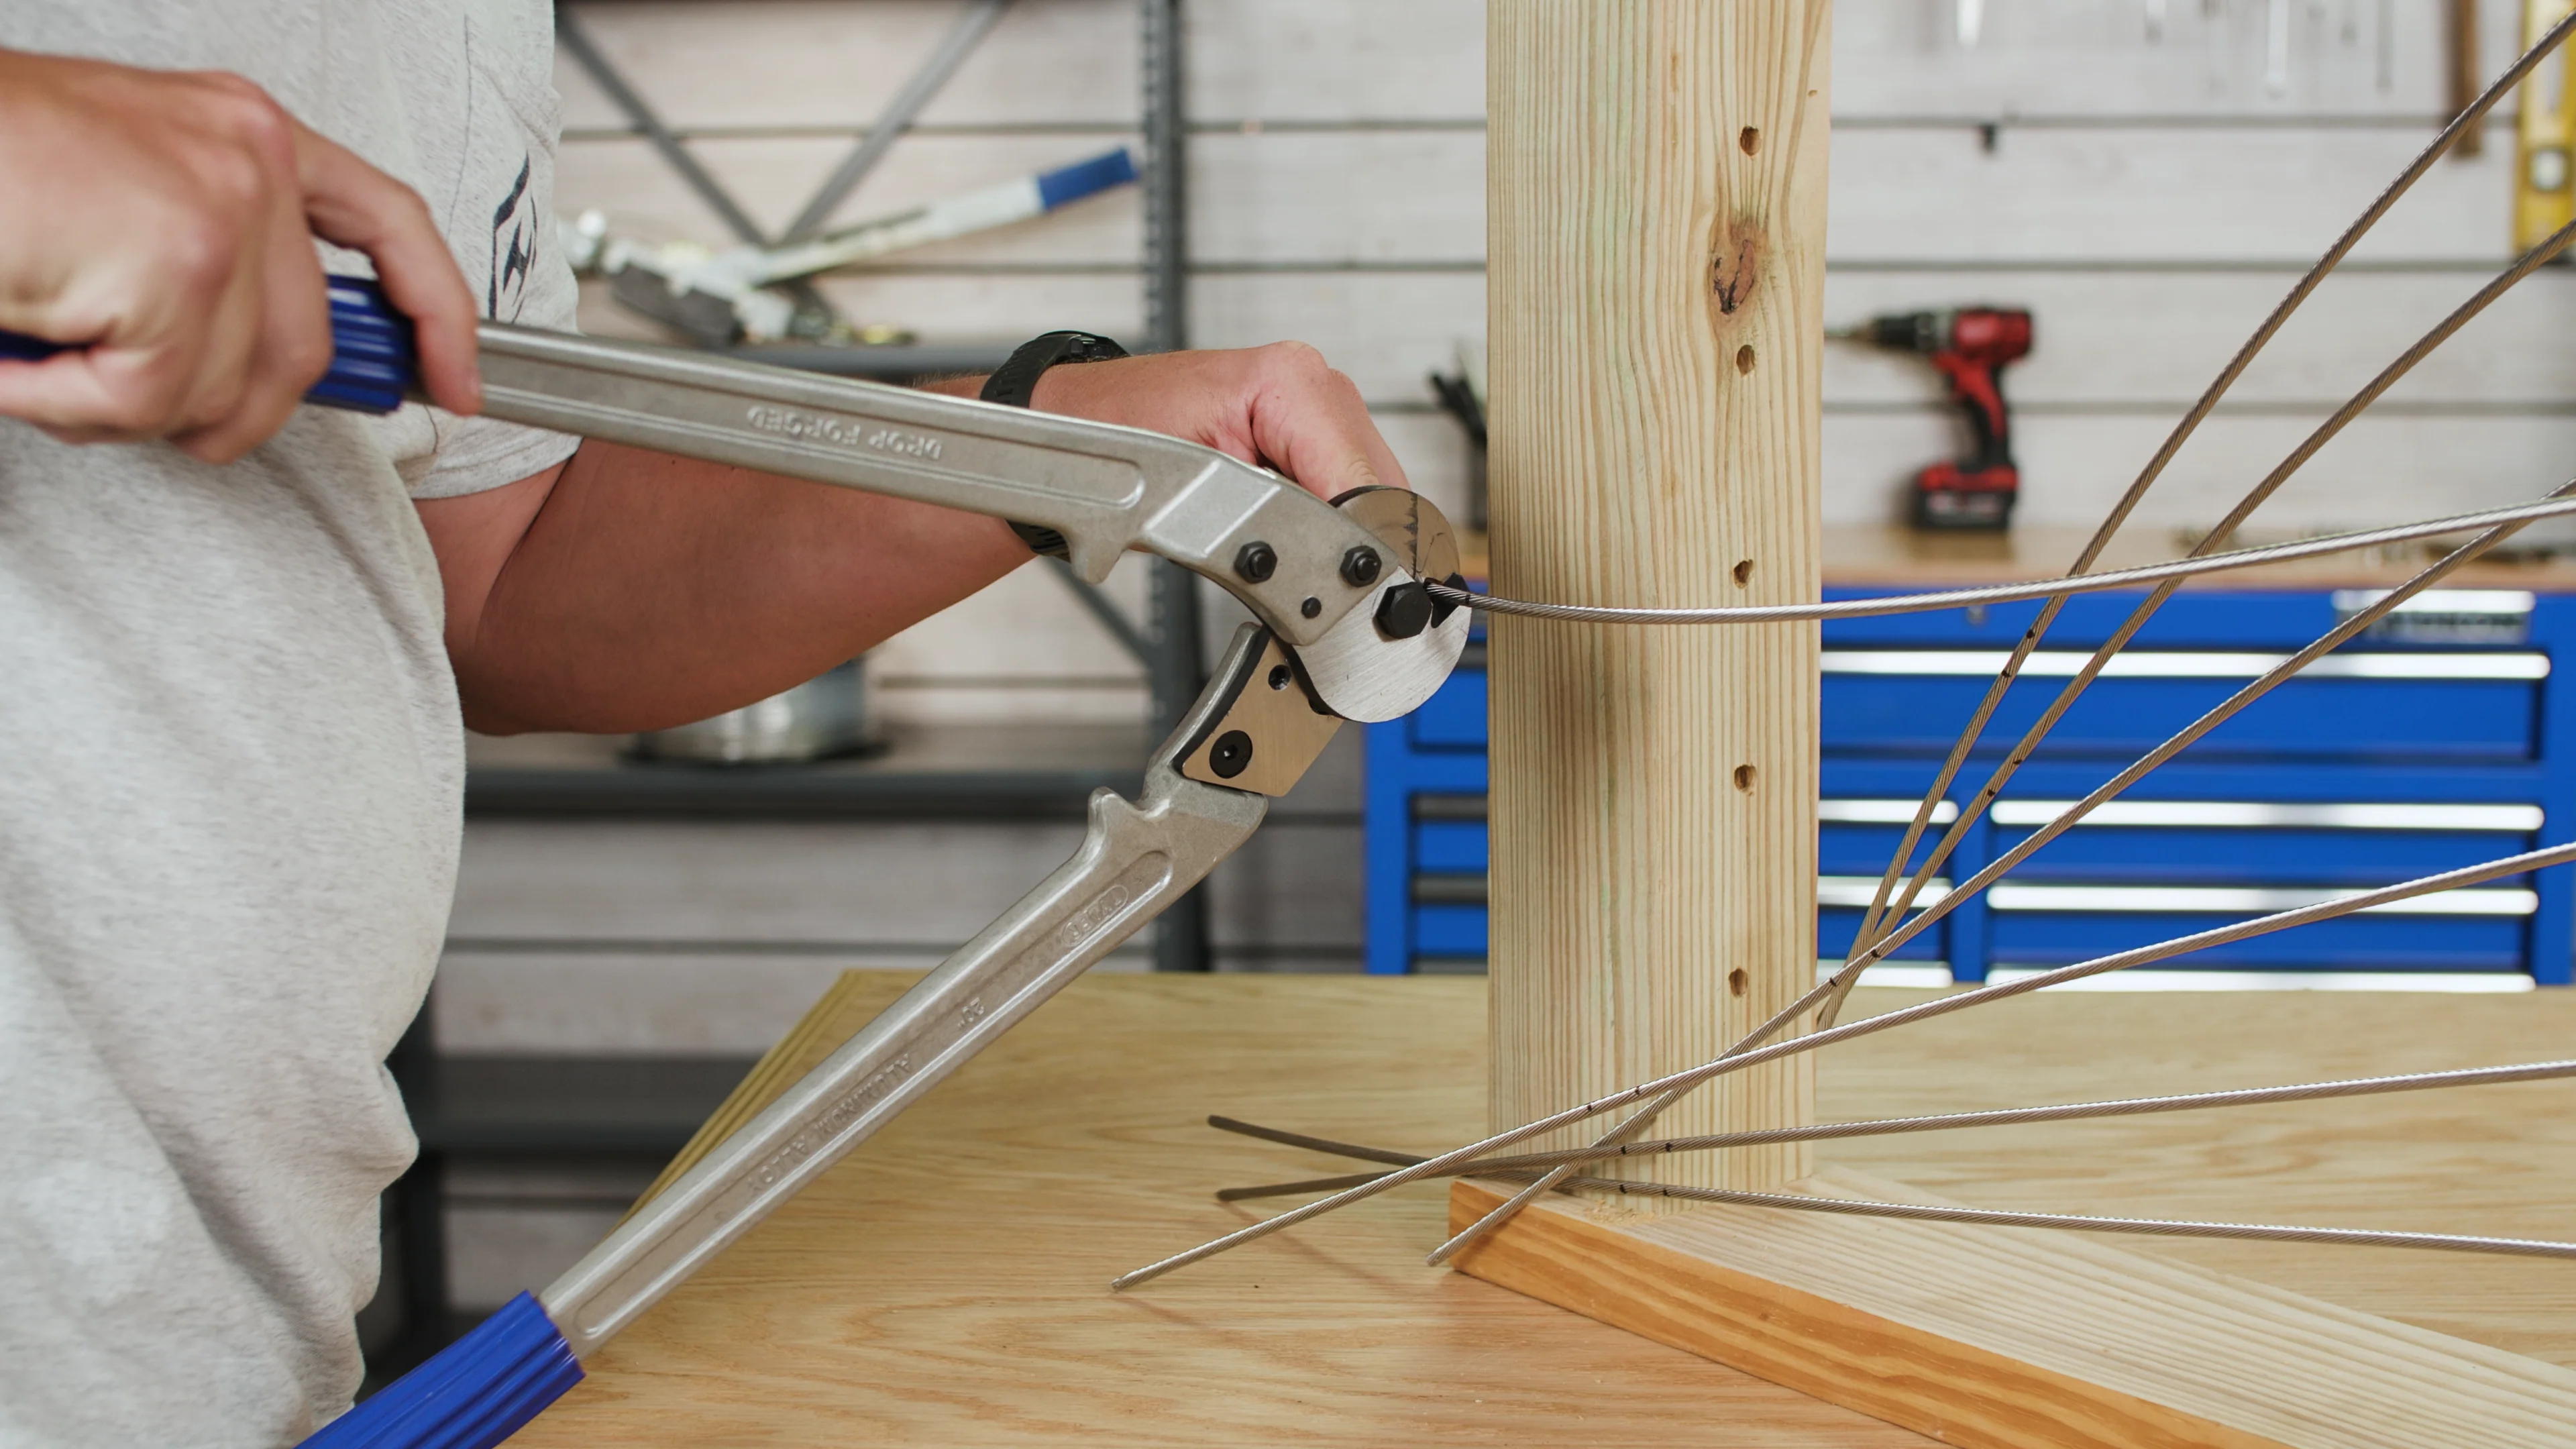
Using a cable cutter, trim the cable at the second mark, repeat this entire measuring and cutting process so that all the cables for the run have been trimmed to the correct length.
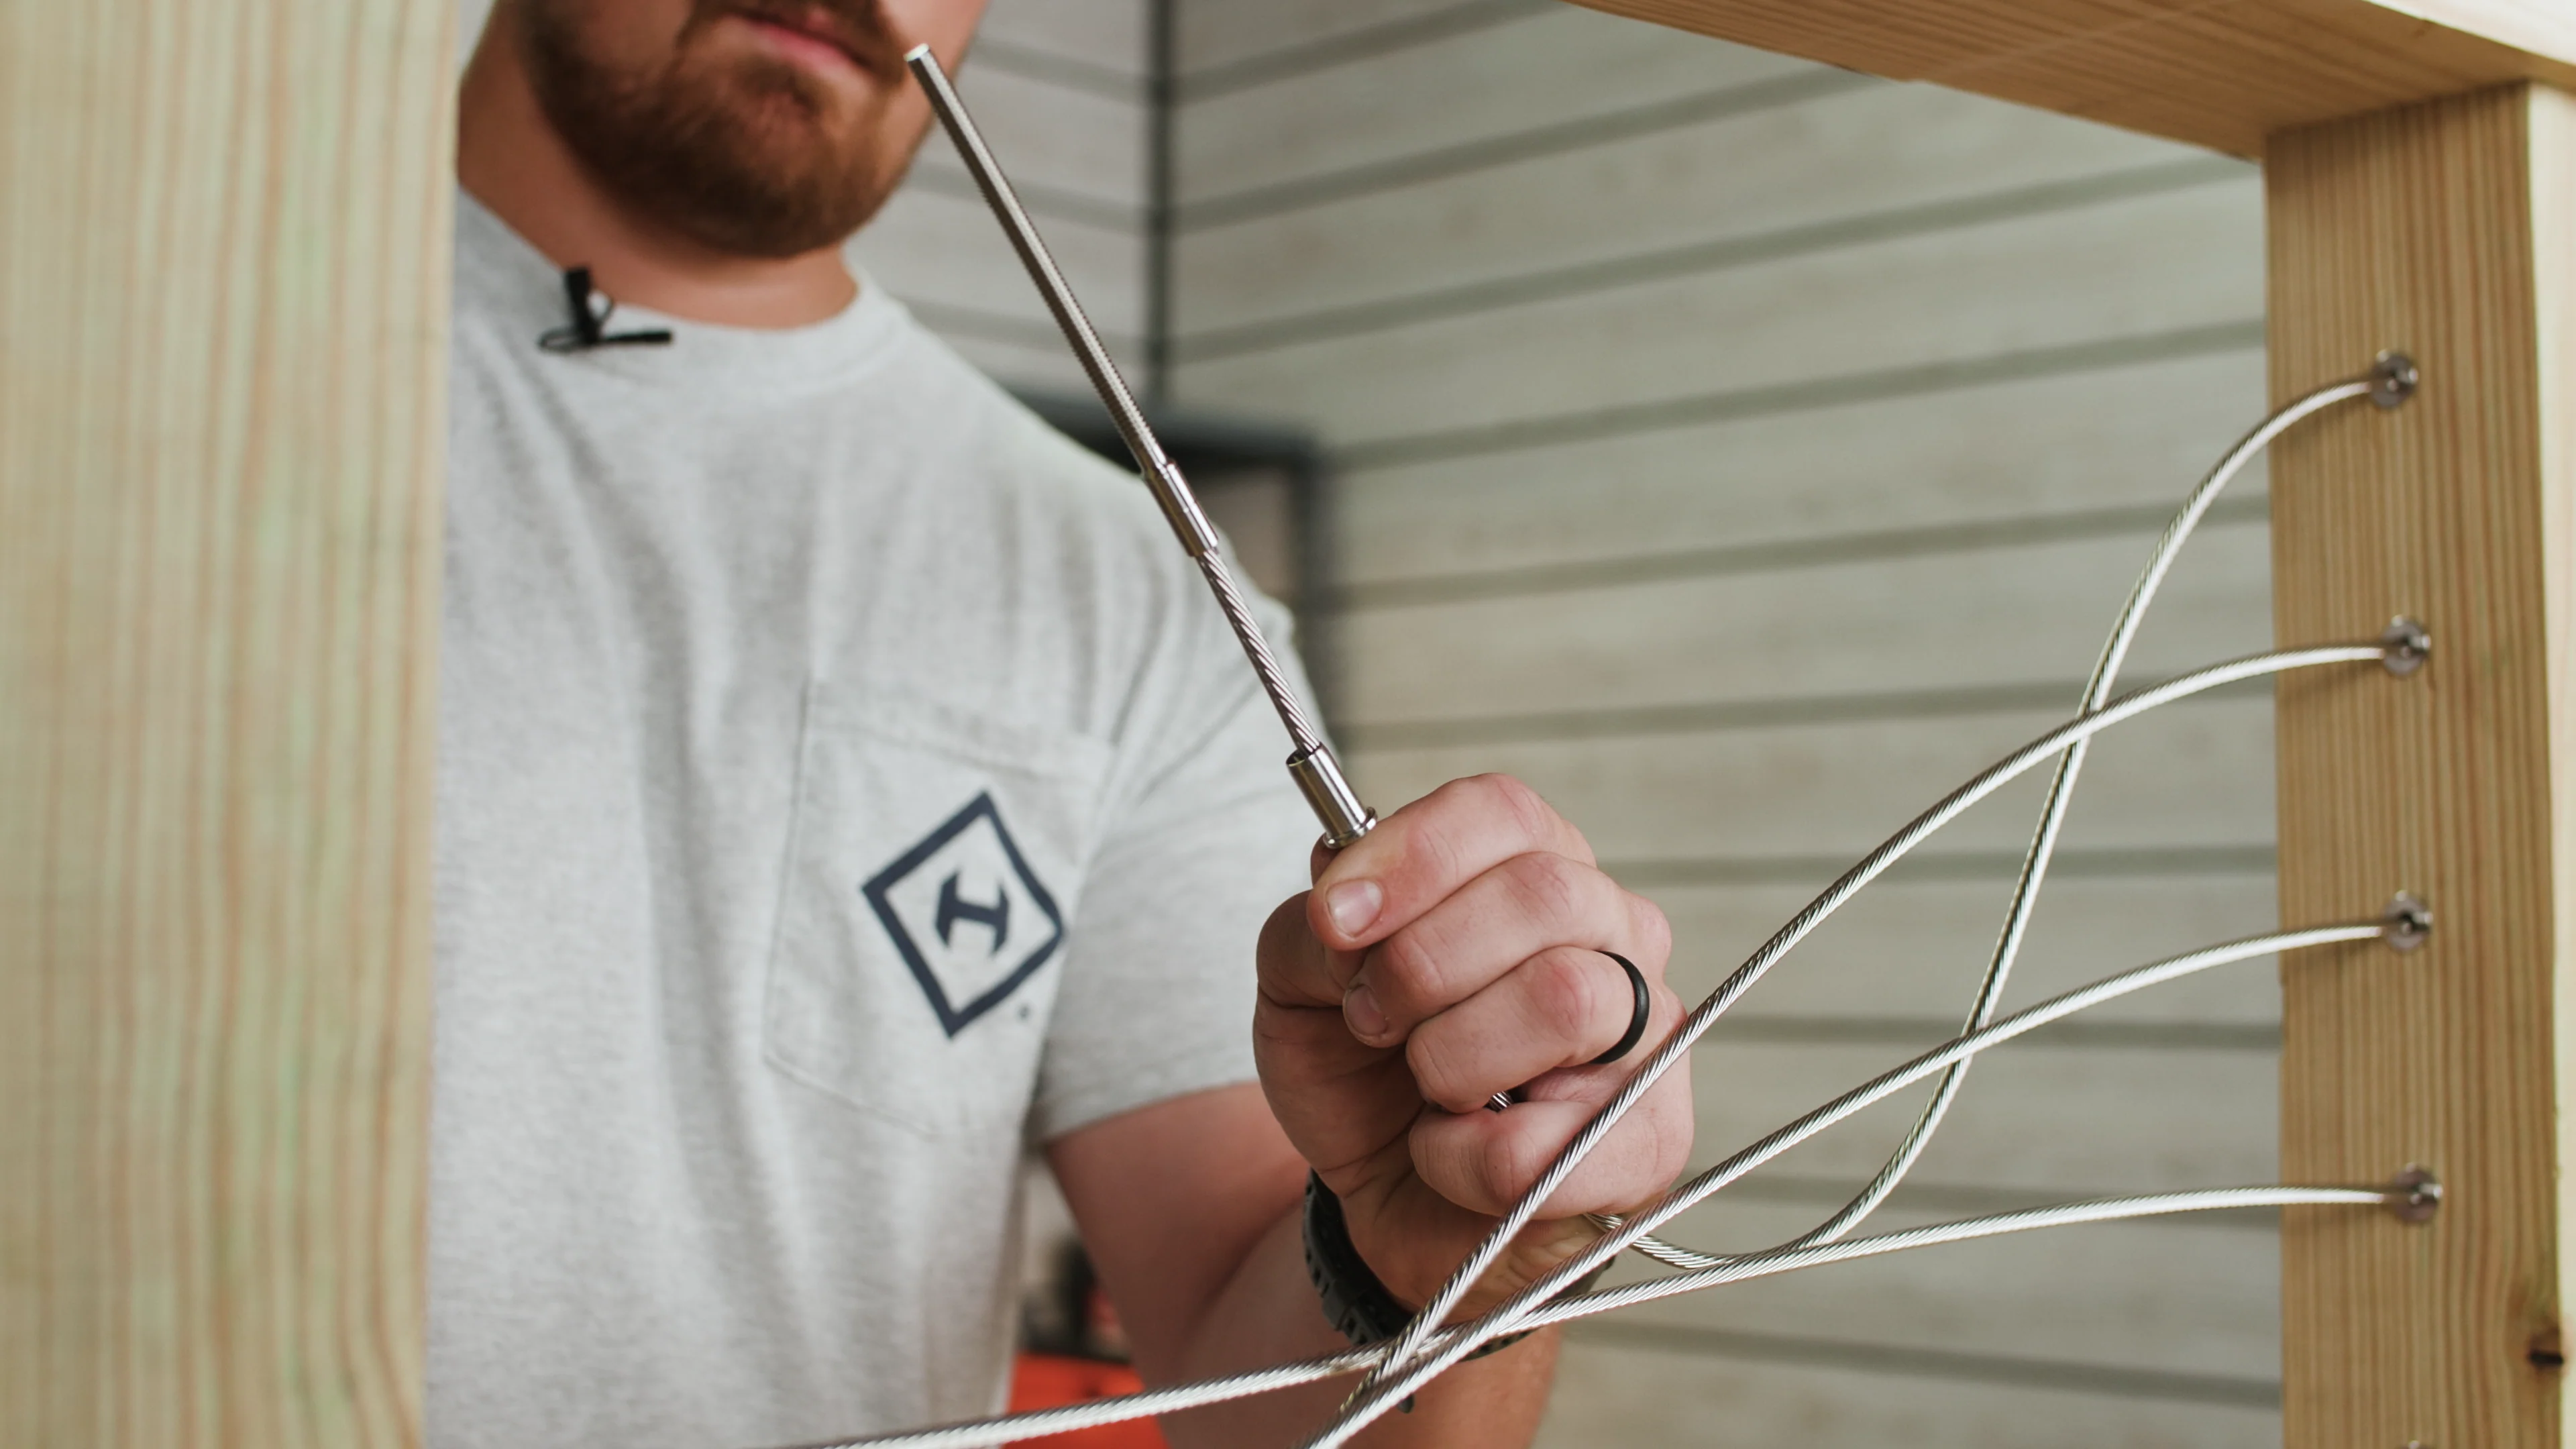
Now that all your cables are cut, you're ready to attach your swage studs if you're using wood post protectors for your system like we are today, slide on your wood post protectors and make sure that they are oriented in the right direction. Then insert the end of your cable into the swage cavity of your stud.

The swage area is from the opening of the swage cavity to the first indentation line that you see here.
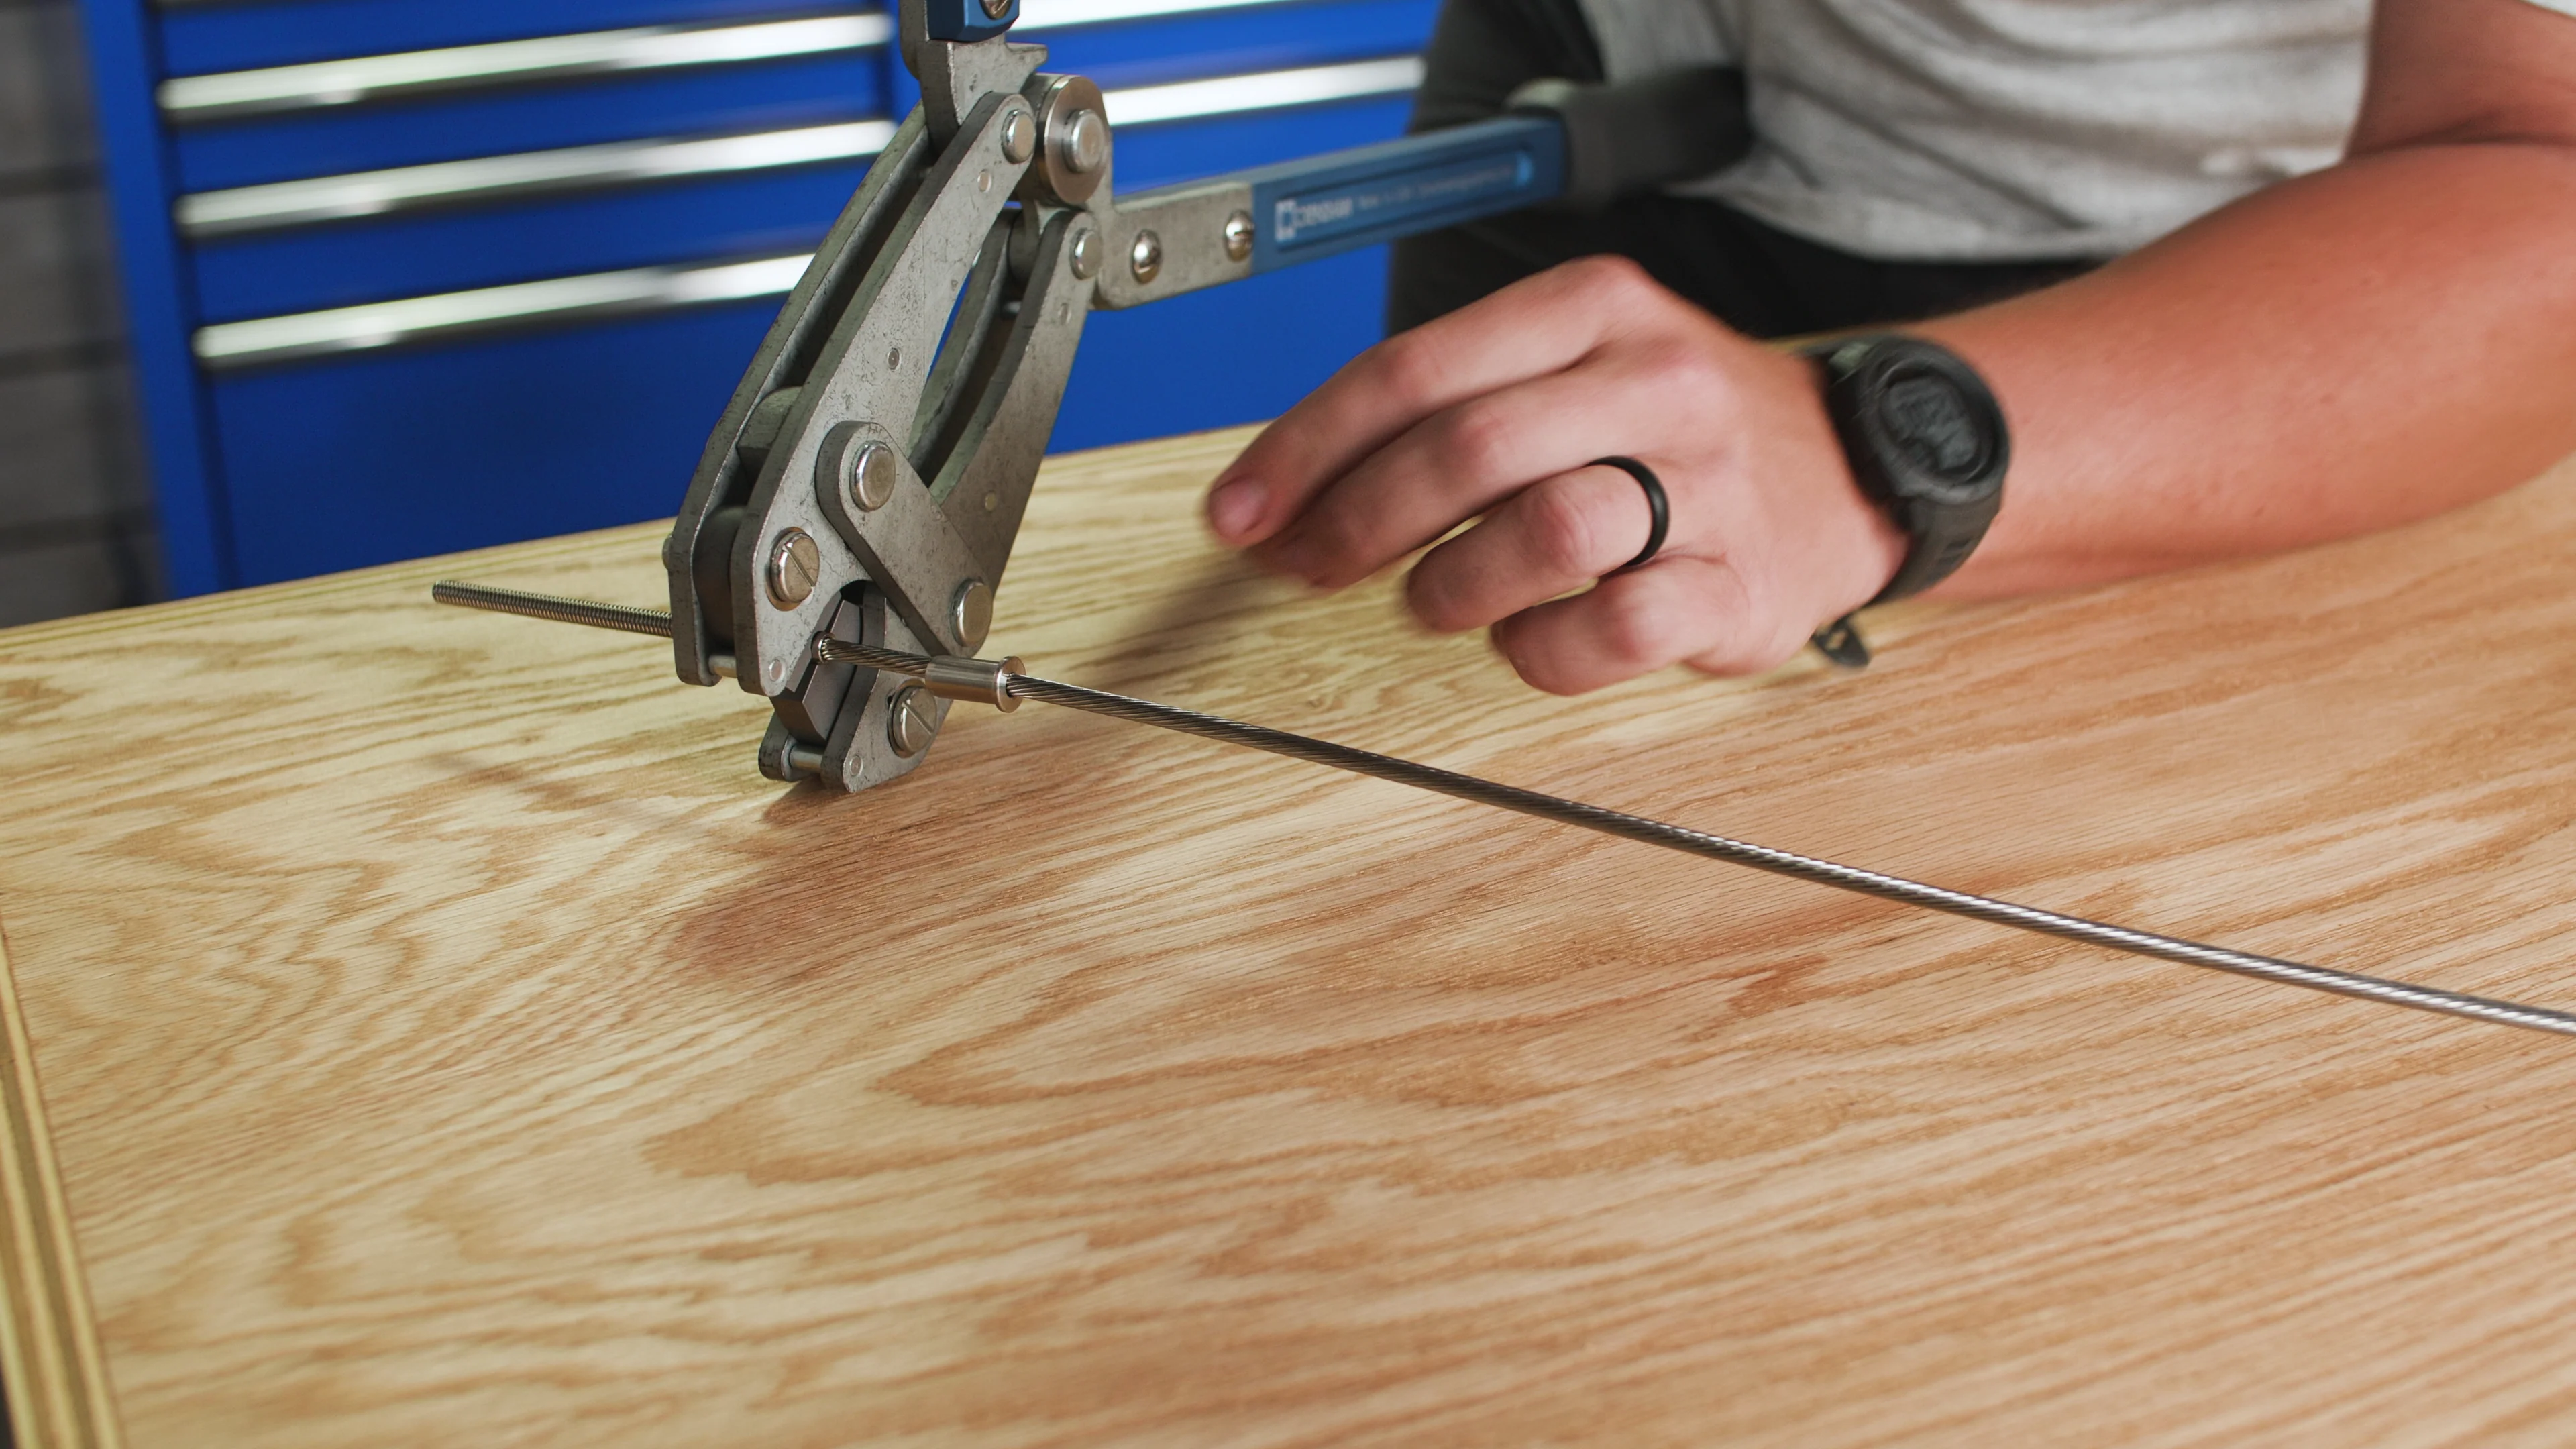
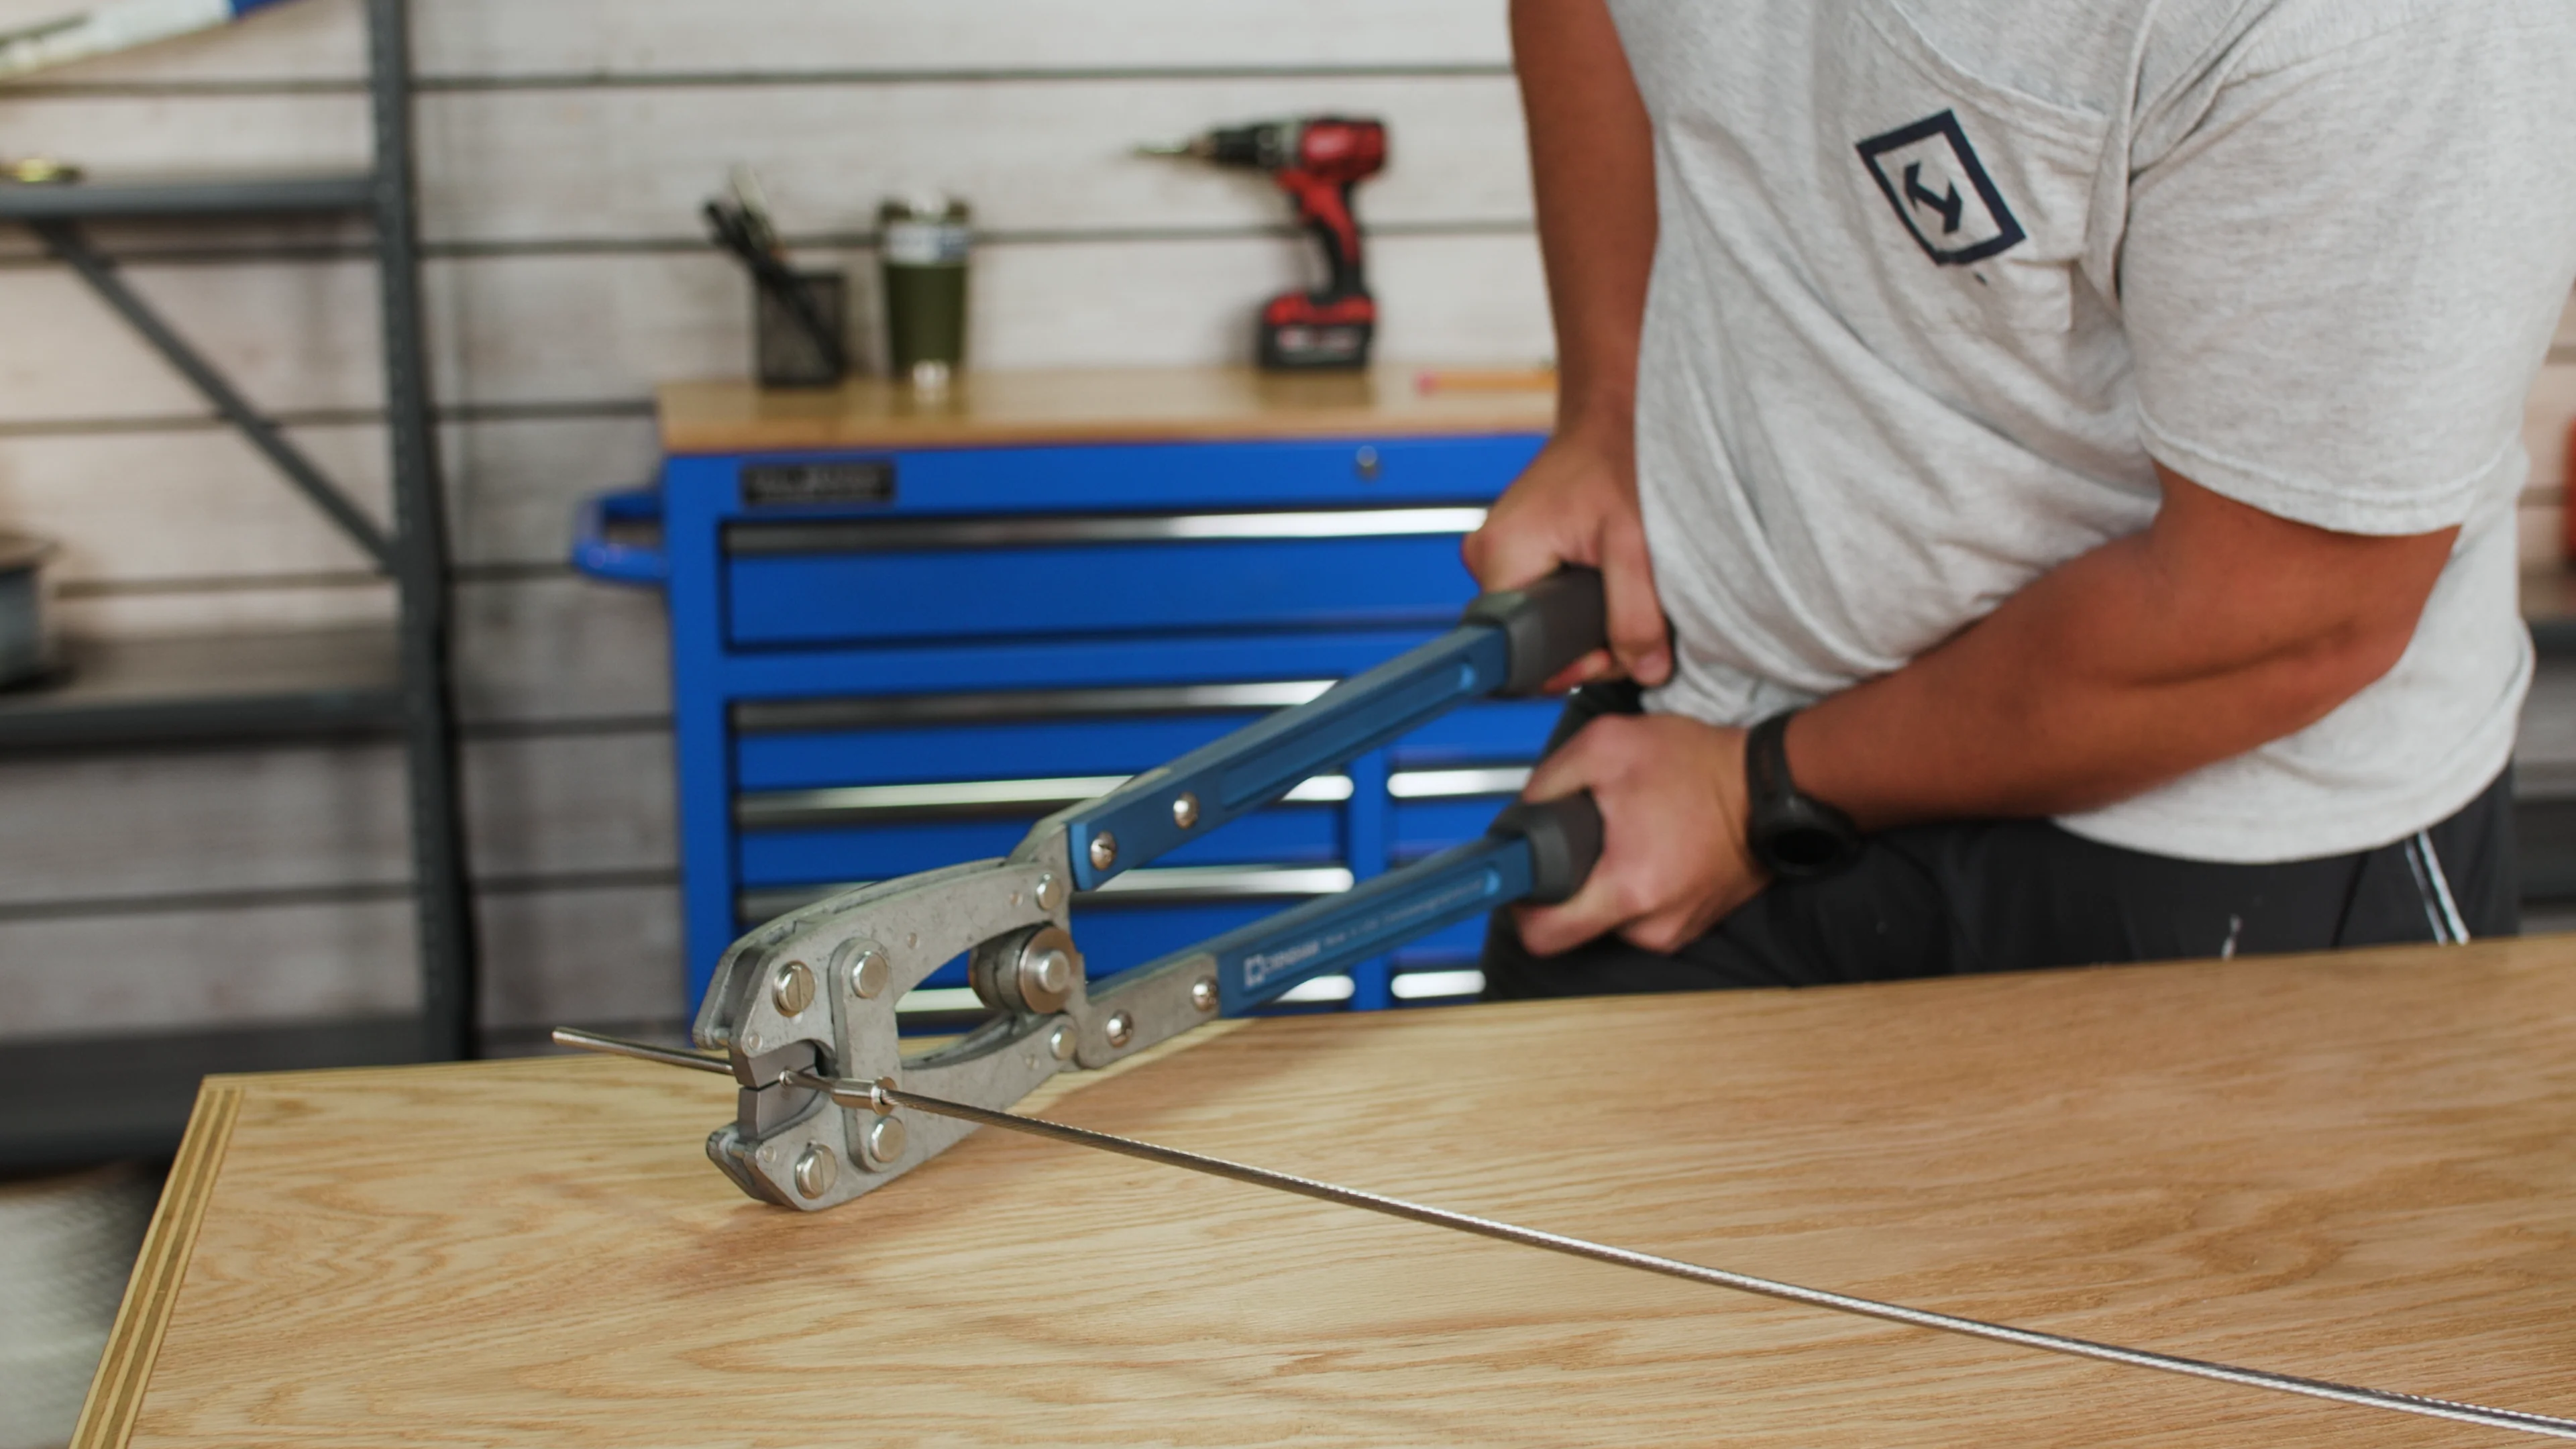
Once your stud is properly aligned in the die, close the handles of the swager to make your first swage. Then, slightly open the handles, rotate the stud about 90 degrees and then make your second and final swage on the stud.
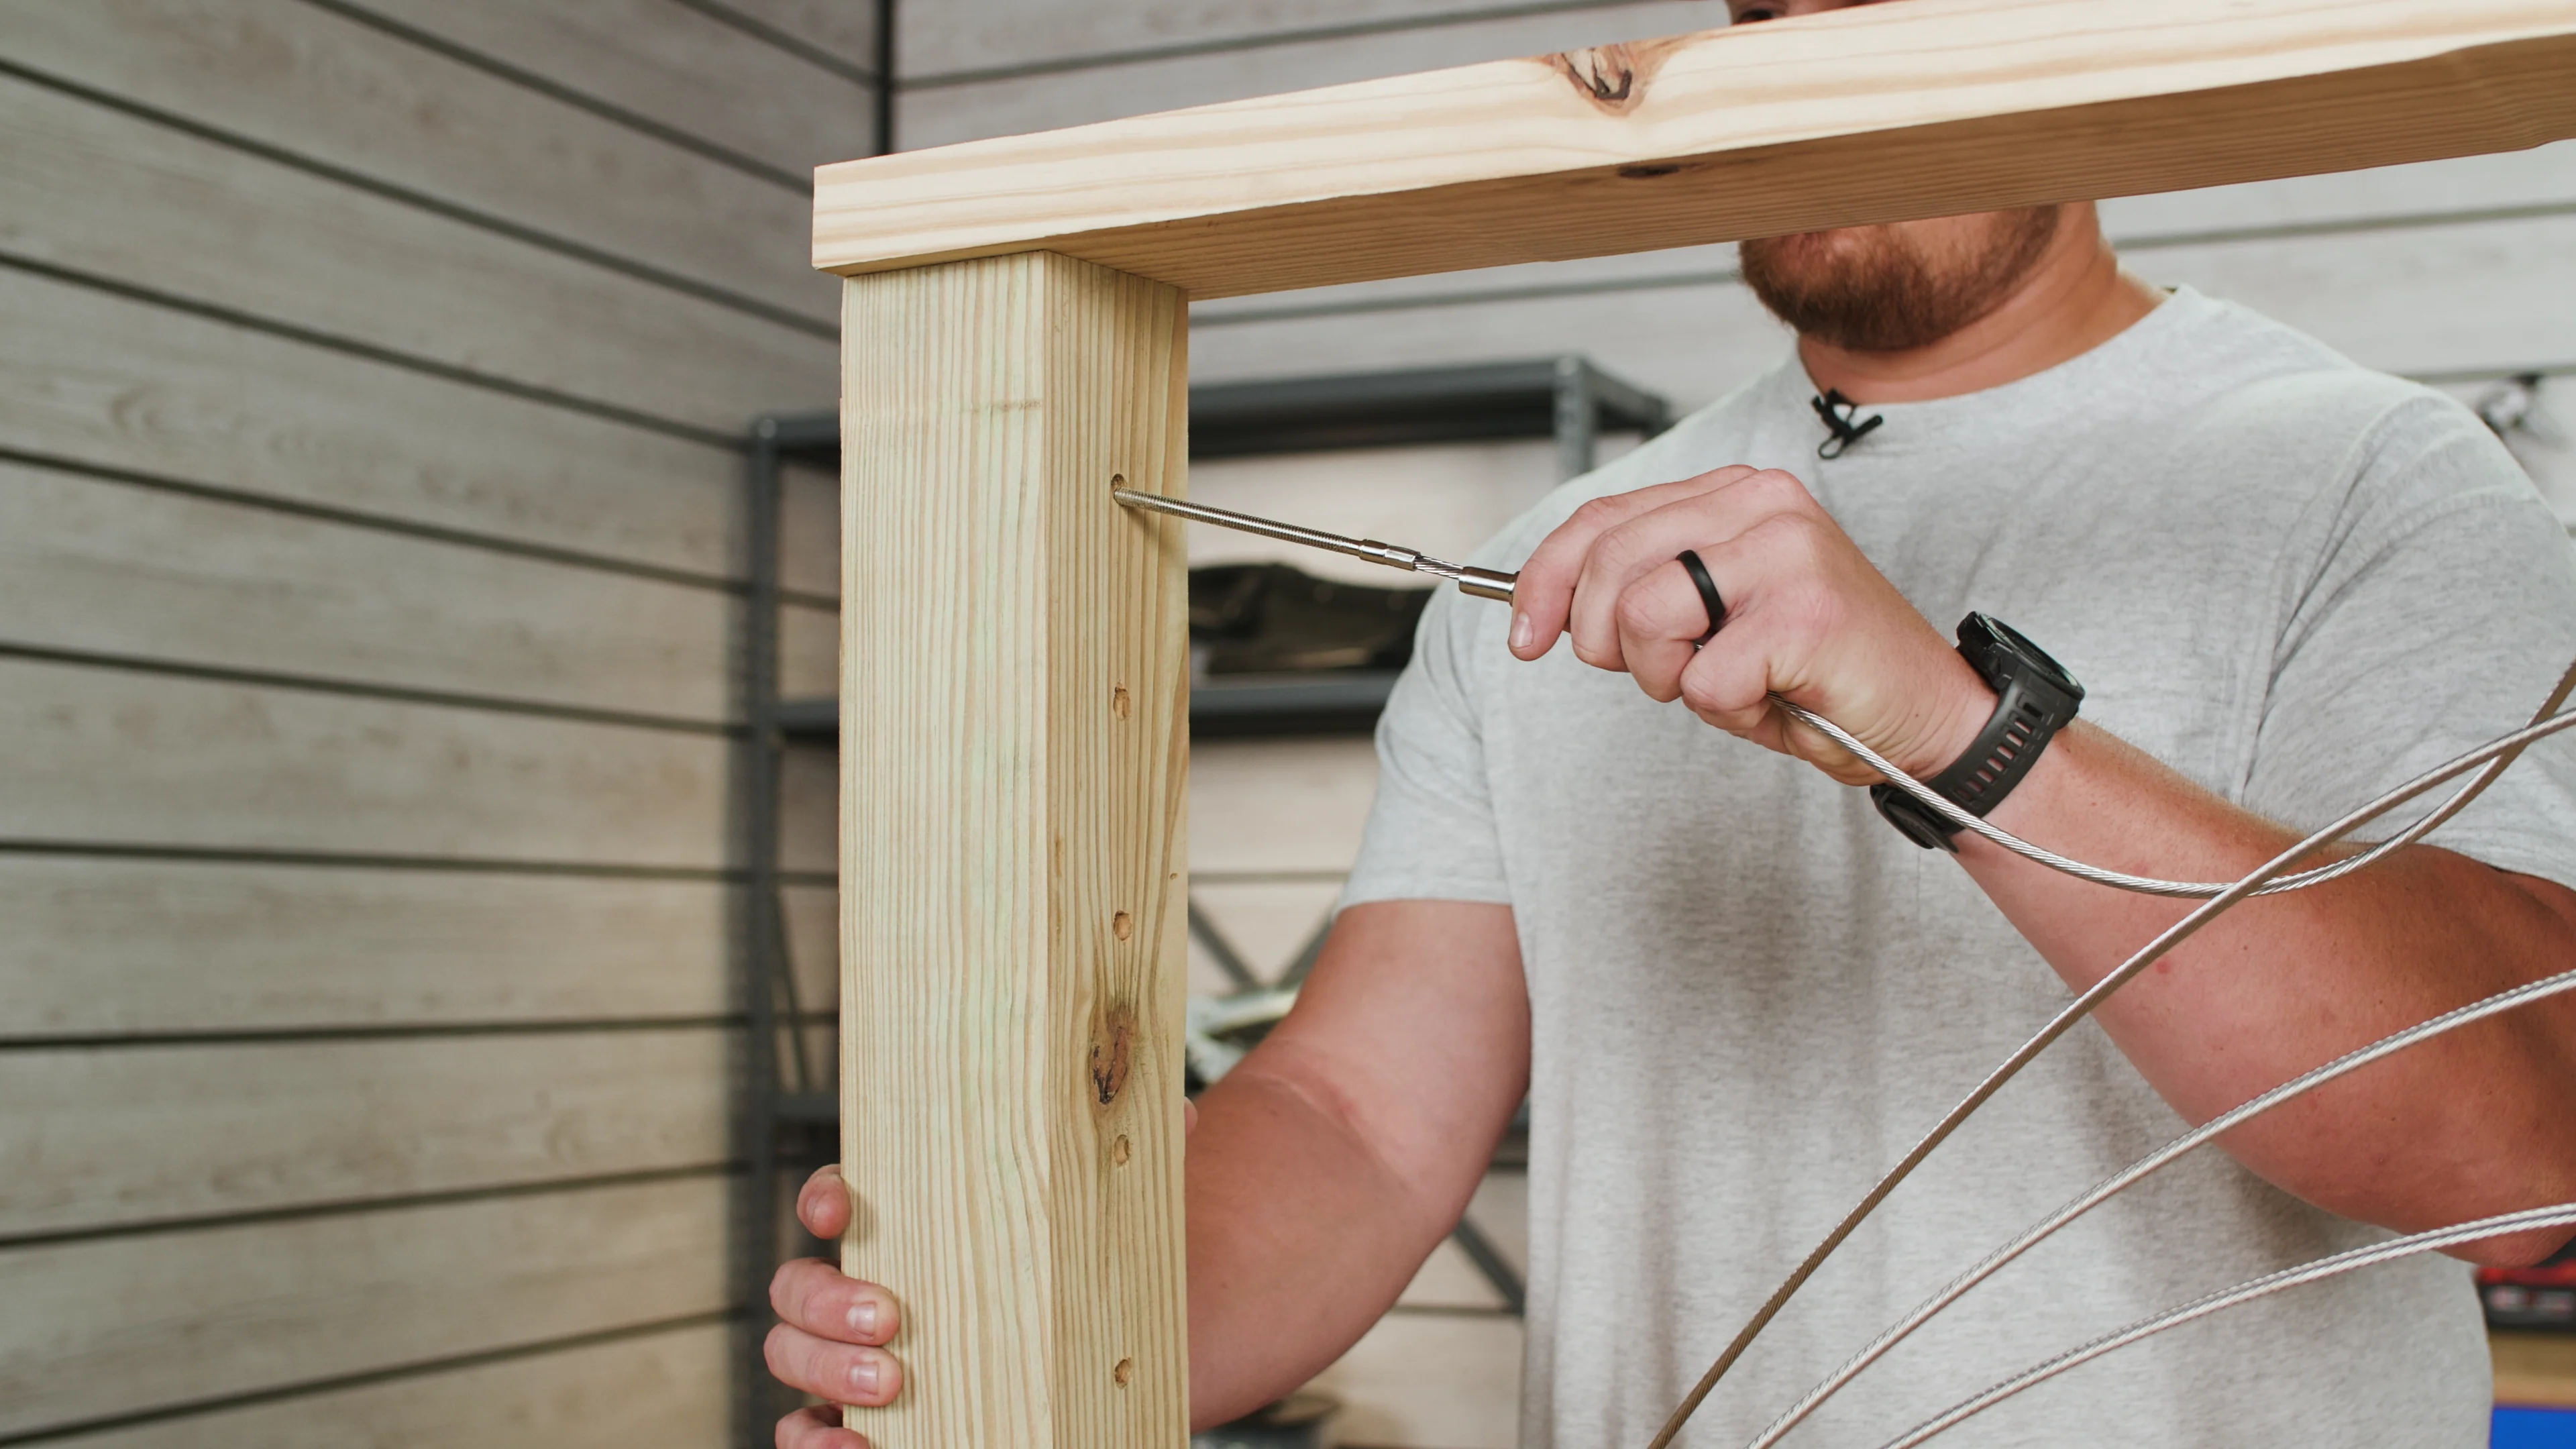
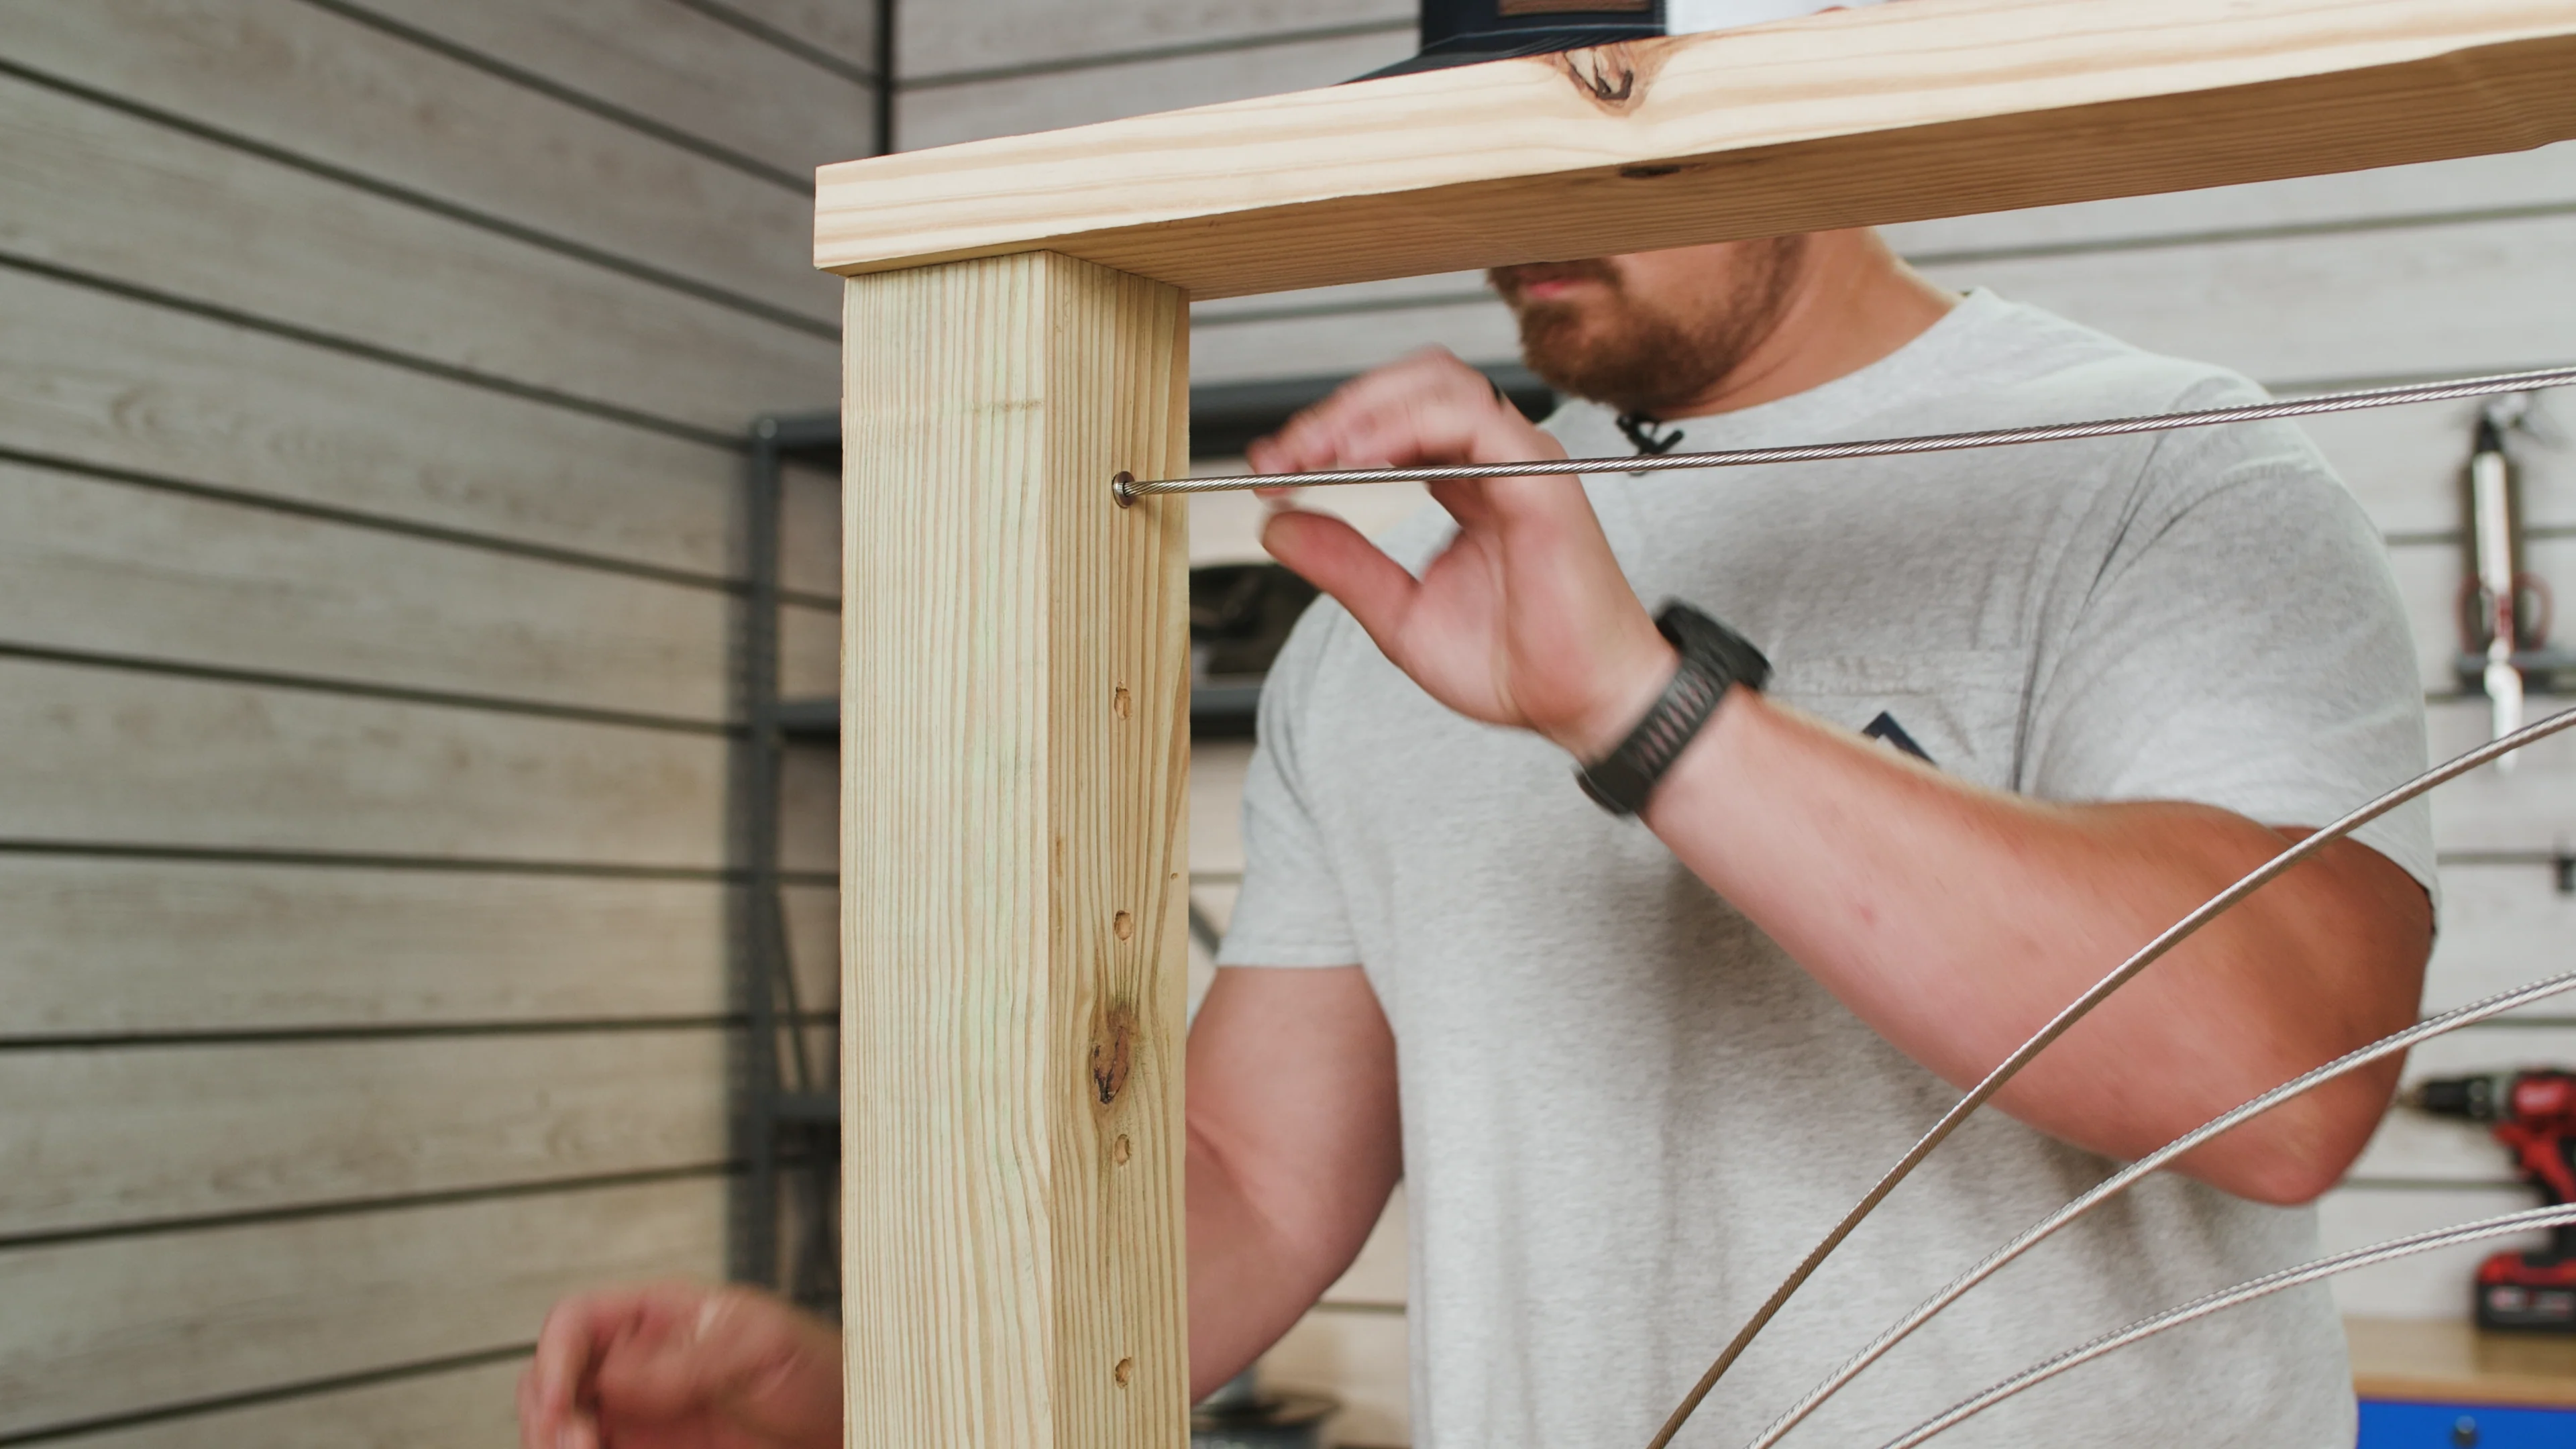
Insert the stud through your post and then slide on the centering bushing over the stud and into the mounting hole on the backside of the post.
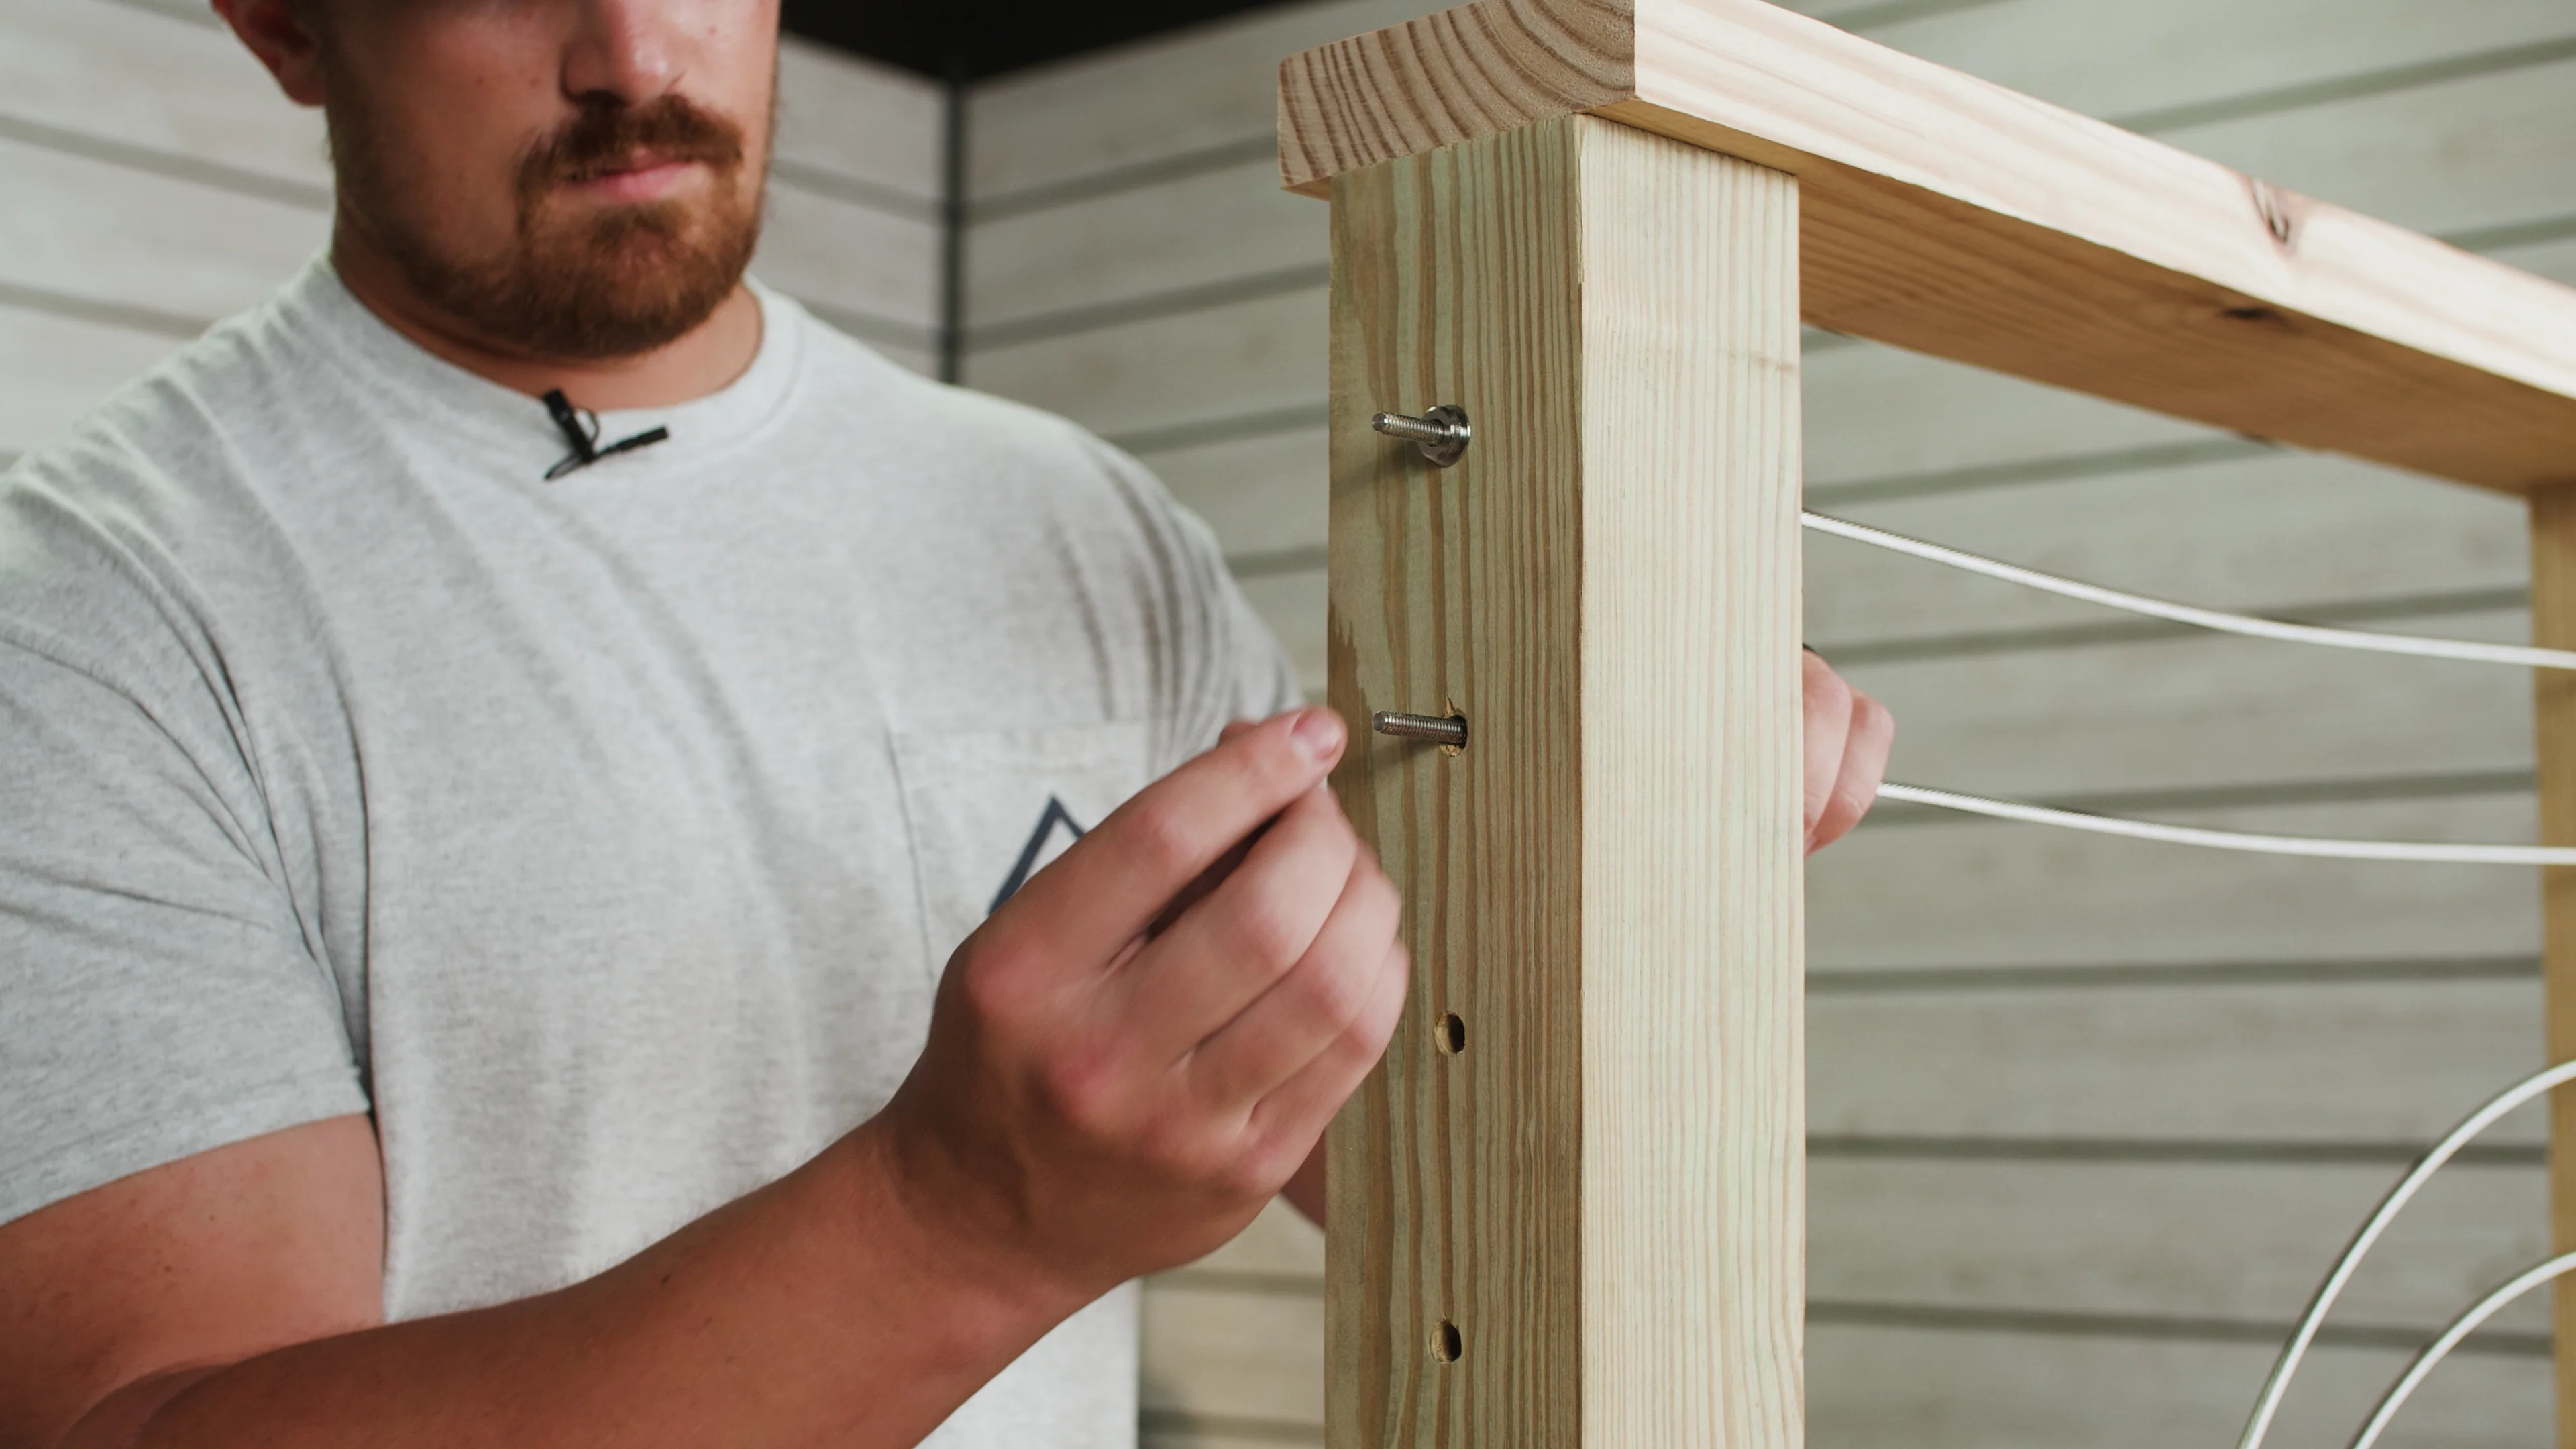
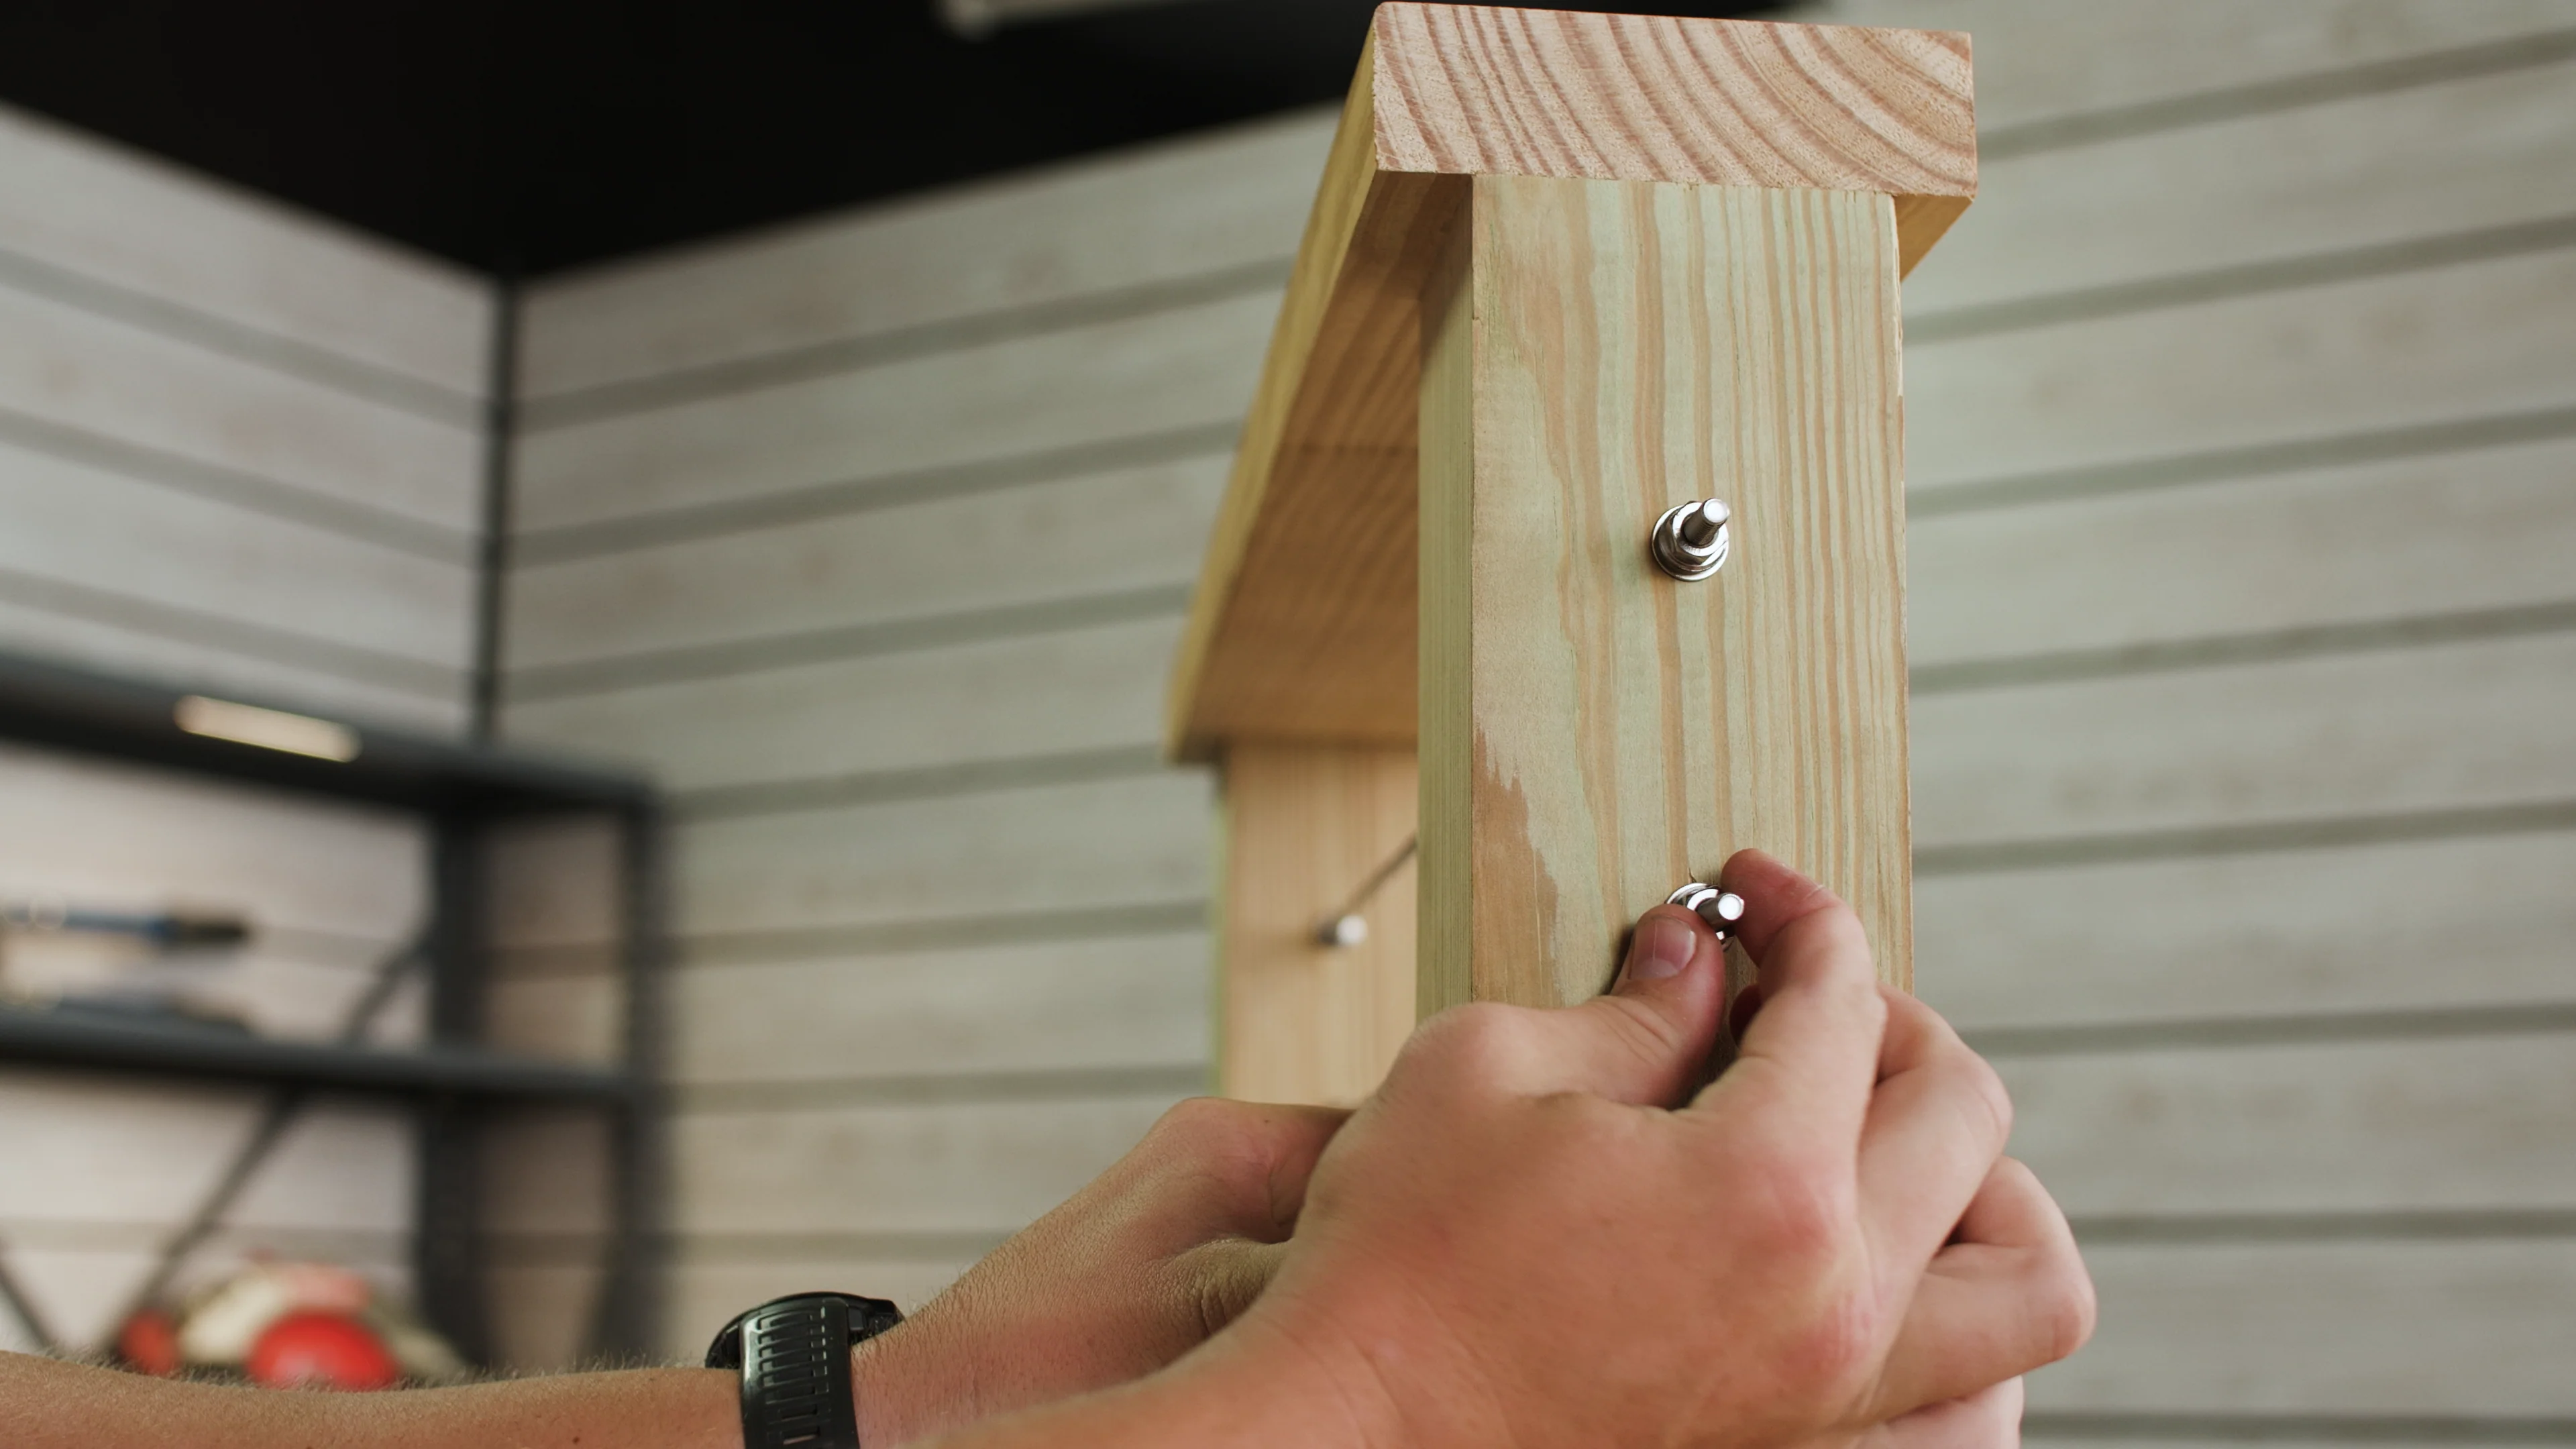
Now thread your hex nut onto the stud until it's hand tight. Repeat the same process for all the remaining cables for the run.
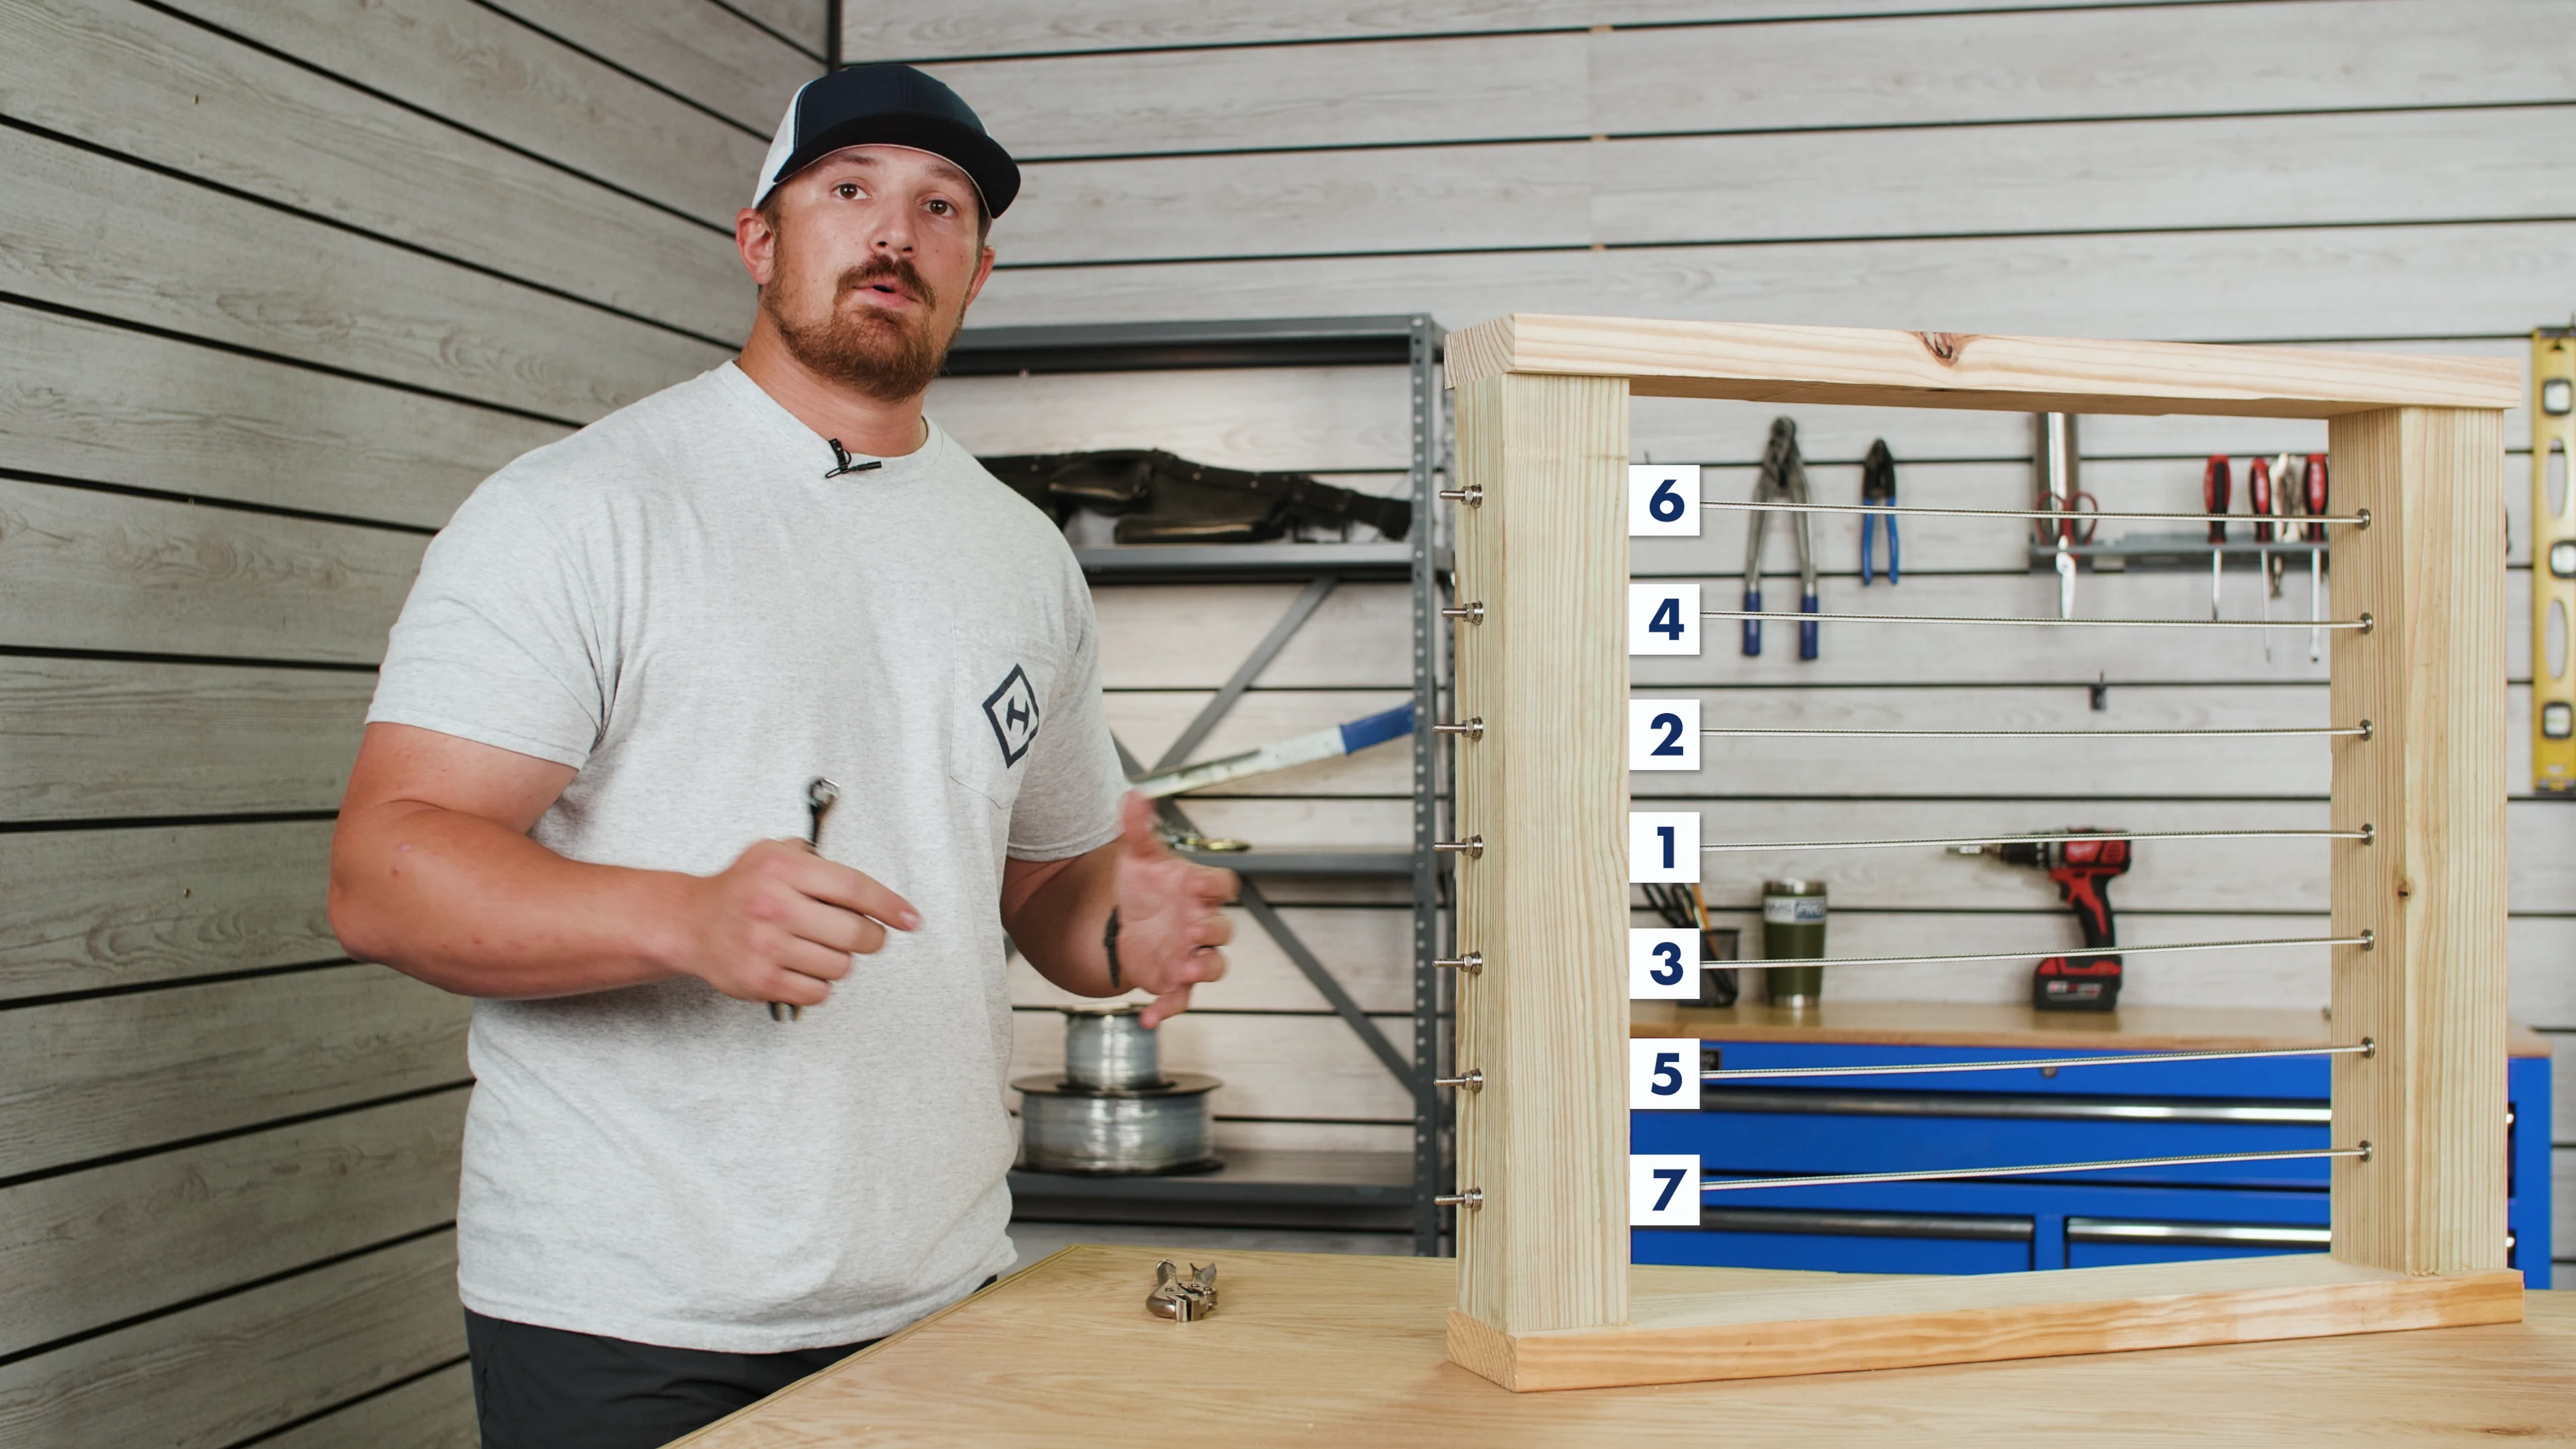
So now that you've got all your REVO through-post tensioners installed and they're all hand tightened, the next step is going to be to complete tensioning for the run. Now whenever you do this, you're going to want to make sure that you're following the sequence that you see here. Now, what that sequence is going to have you do is you're going to start with your middle cable. Once that's tension, you're going to move to the one directly above it and then directly below it. But then you're going to continue with that sequence, alternating between top and bottom, working your way out until all those cables are all completely tensioned and they're all equally tensioned. Now, it is important to kind of remember that whenever you're doing this, one or two cables may not be all perfectly tensioned up with all the other cables on the run. So, no big deal. Just go back. Re-tension up those cables and just make sure that all your cables are equally tension before you get ready to cut off your studs with your grinder.
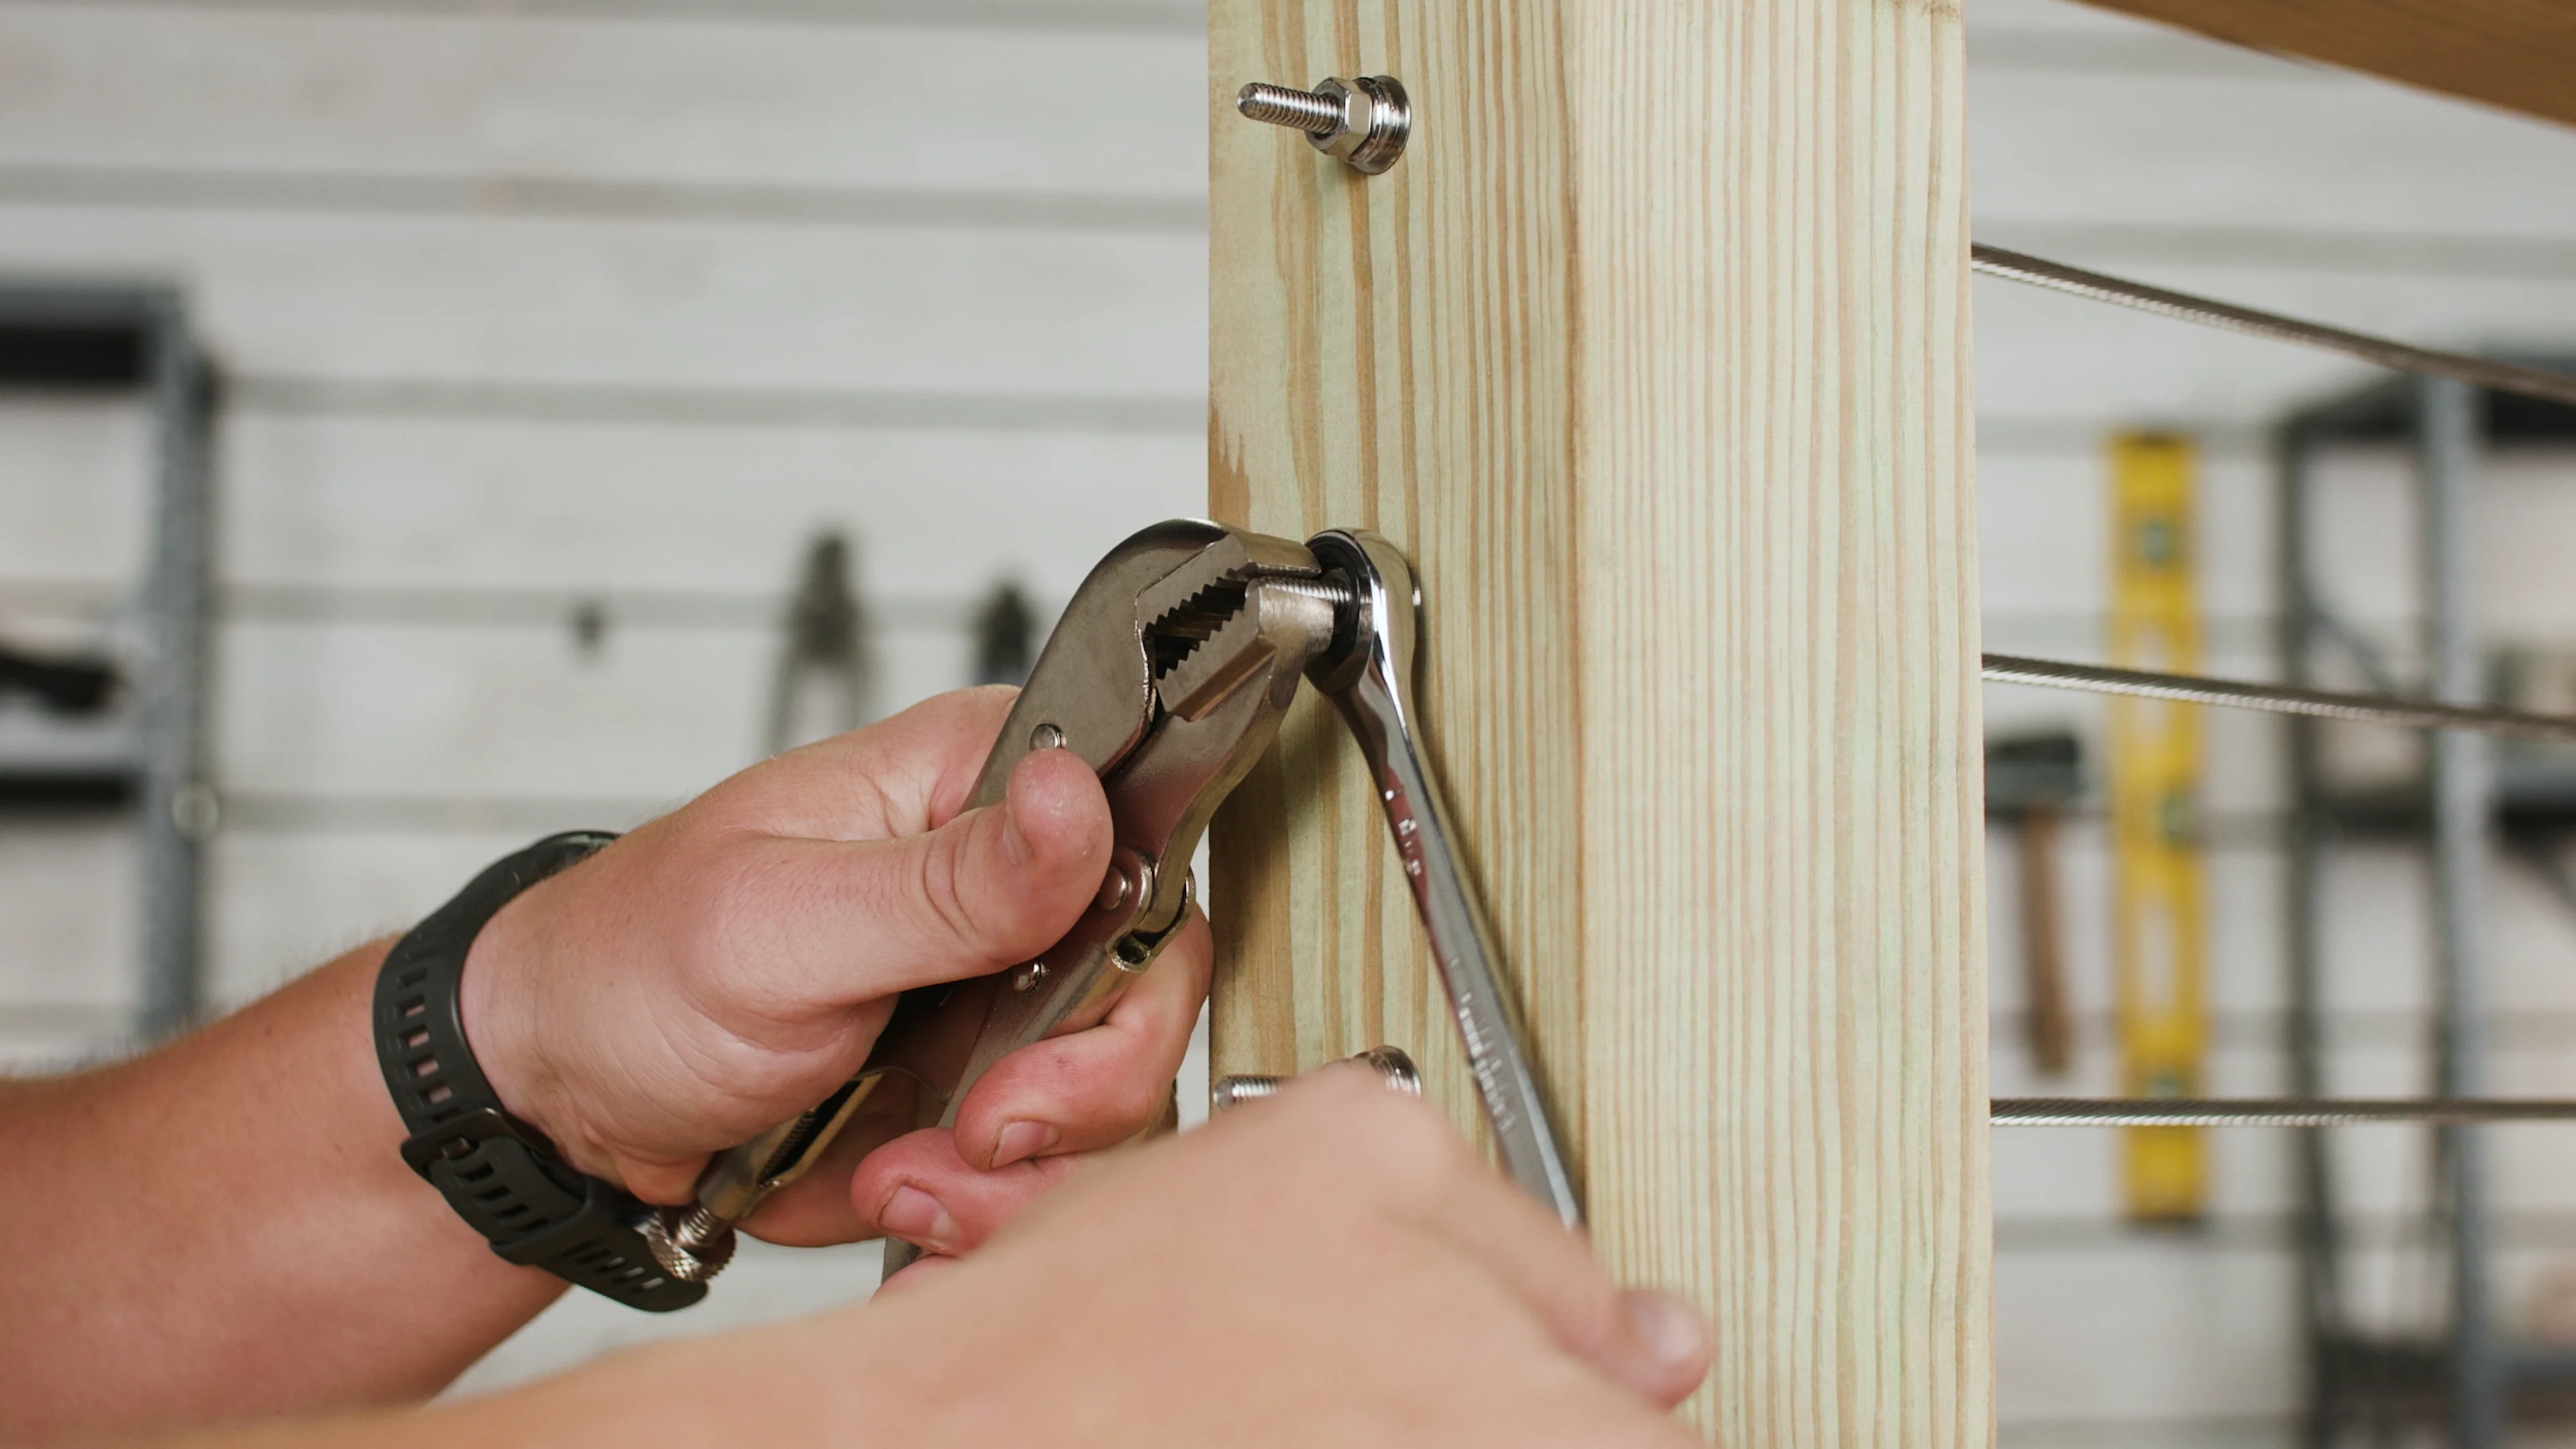
To begin tensioning your cables, you're going to need a 7/16" ratcheting wrench and a pair of vise-grips. Slide the wrench onto the hex nut on your stud then clamp the vise-grip onto the stud itself. This is very important because if you do not clamp onto the stud when tensioning, the cable will twist. Meaning that the cable may appear tensioned, but will twist itself back, loosening the cables. So, make sure that you have this vise-grip, very firm on the stud. You're going to start with your wrench in the 12'o'clock position and then count the number of rotations that you do. But most importantly, you want to make sure that you're just counting your half rotations. And then whenever you go to tension up the remaining studs on the run, you want to make sure that you're following that same number of half rotations. And this is going to ensure that all the cables are nice and equally tensioned up for the run.
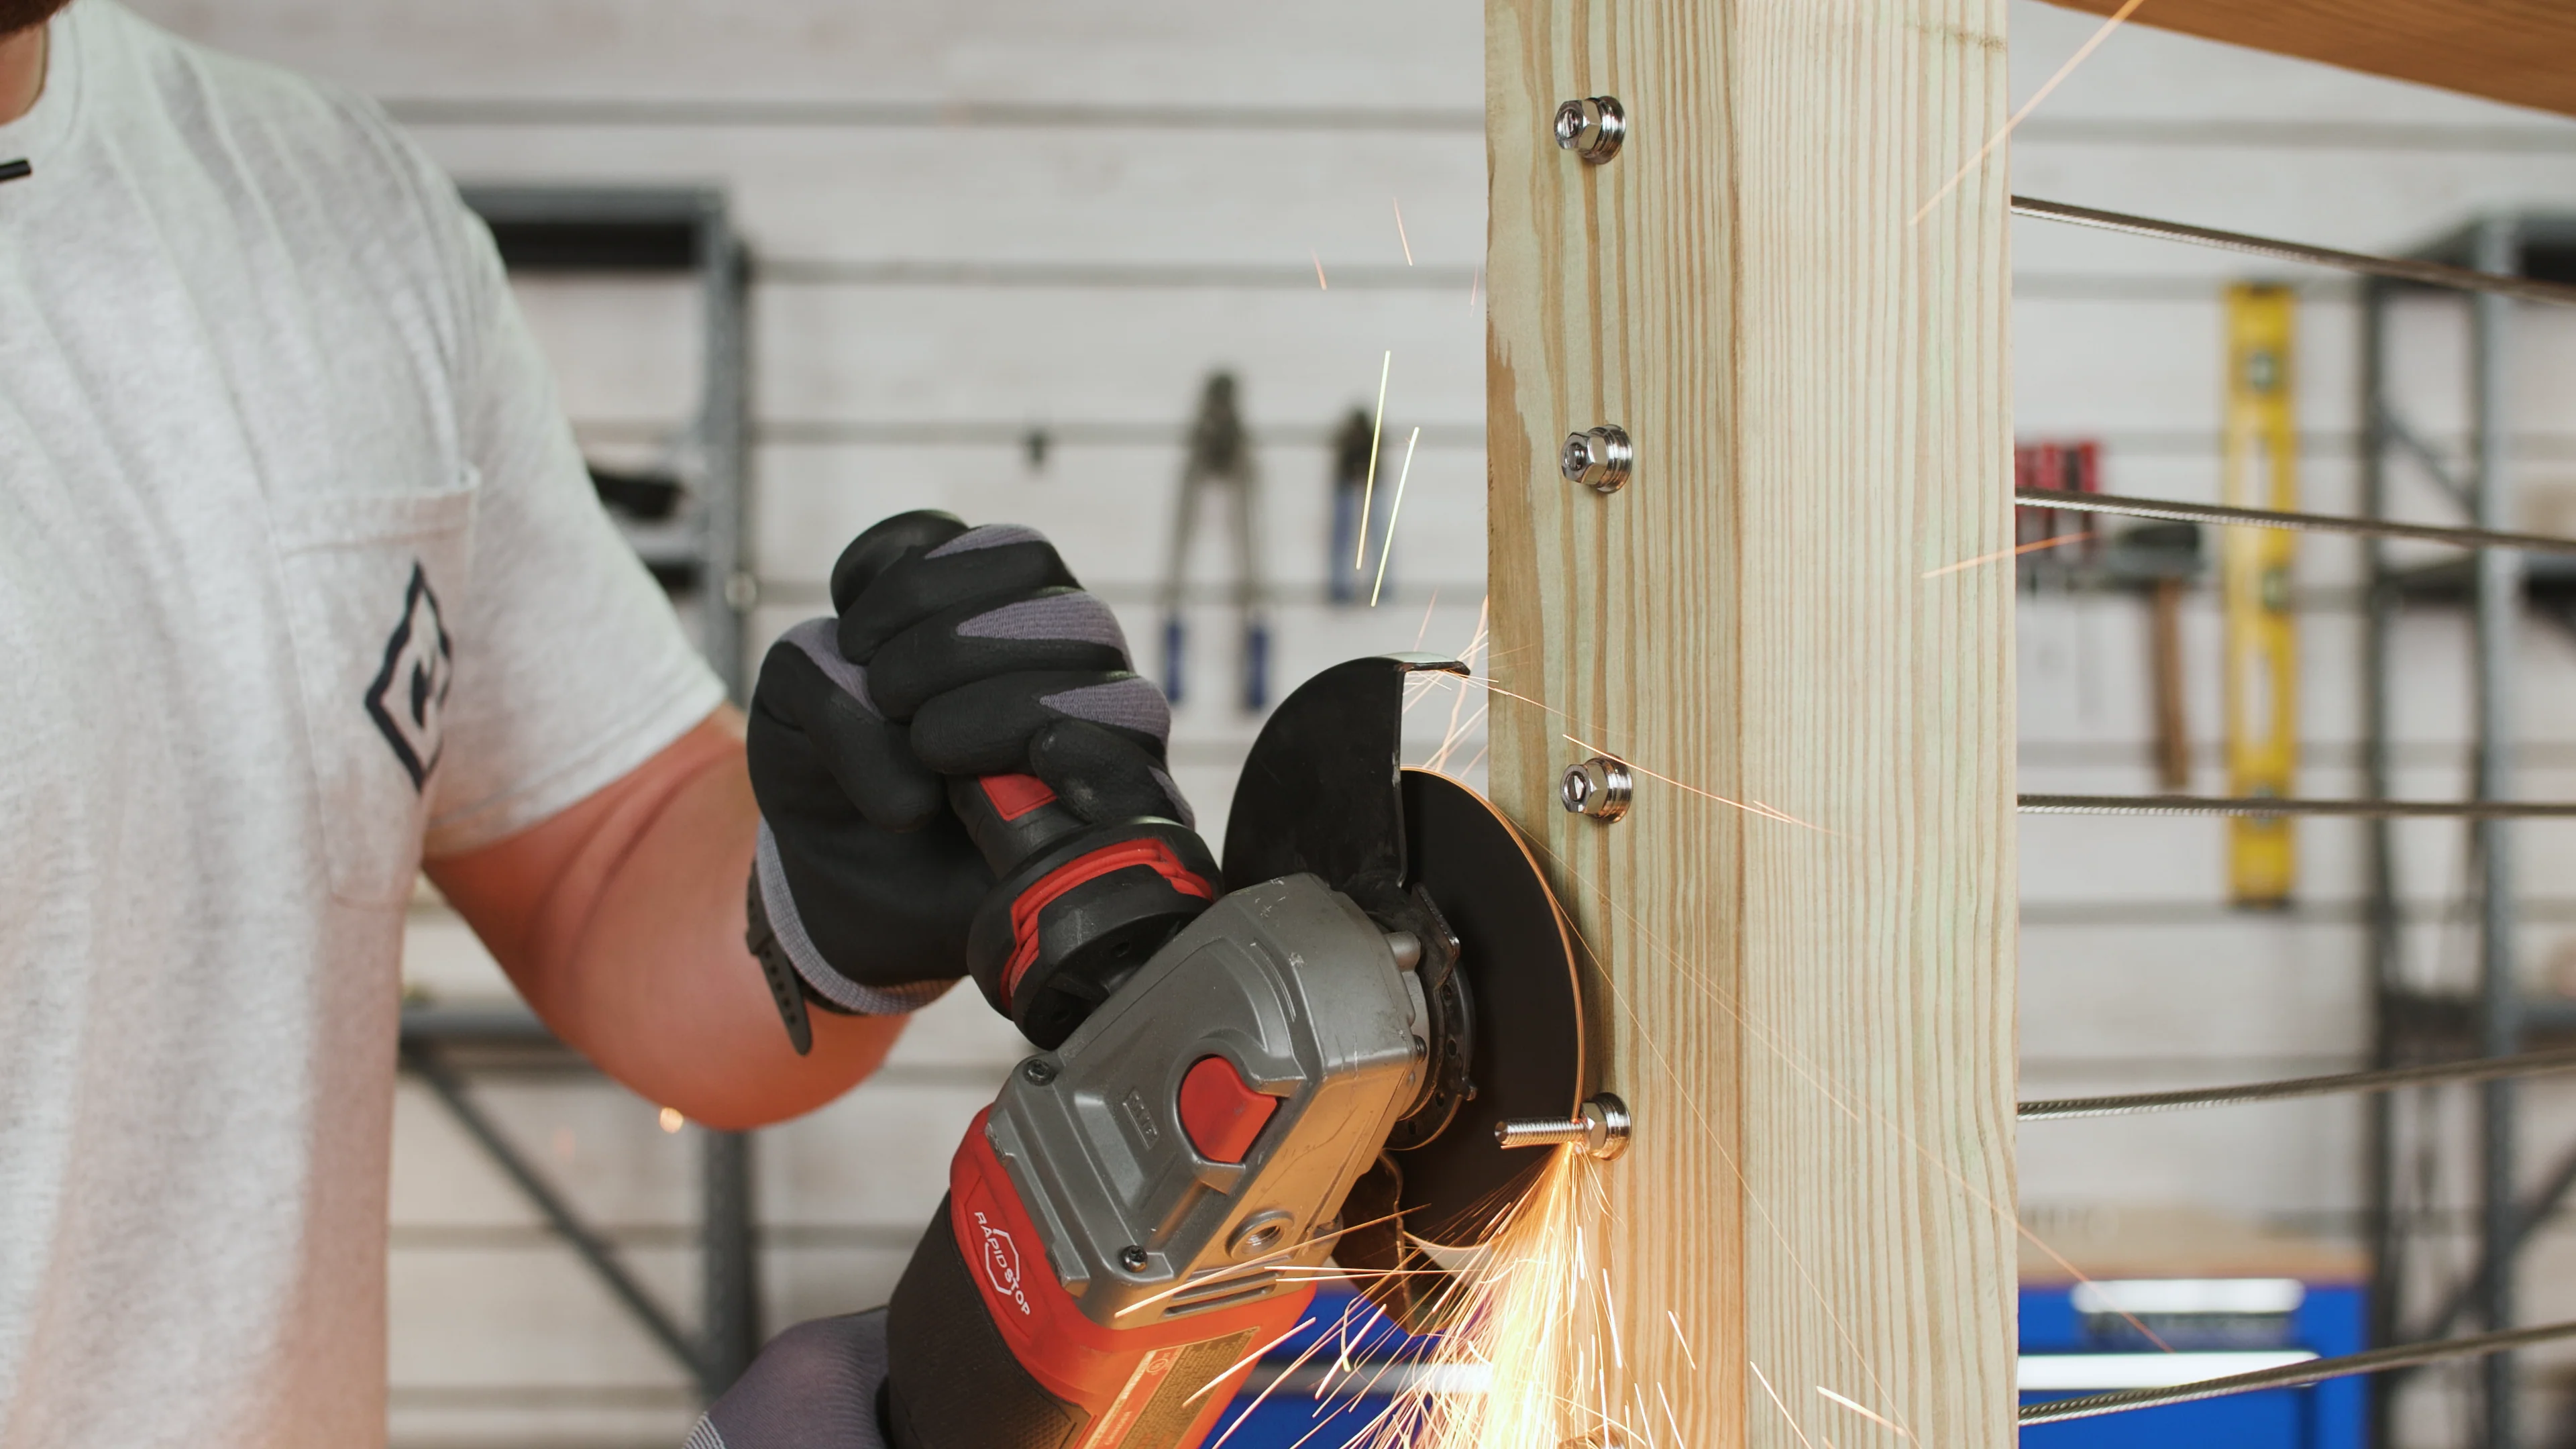
Once you've got all your cables at equal tension, throw on a pair of safety glasses and then use an angle grinder to cut off the excess threads of the stud so that the threads are flush with the top of the hex nut.
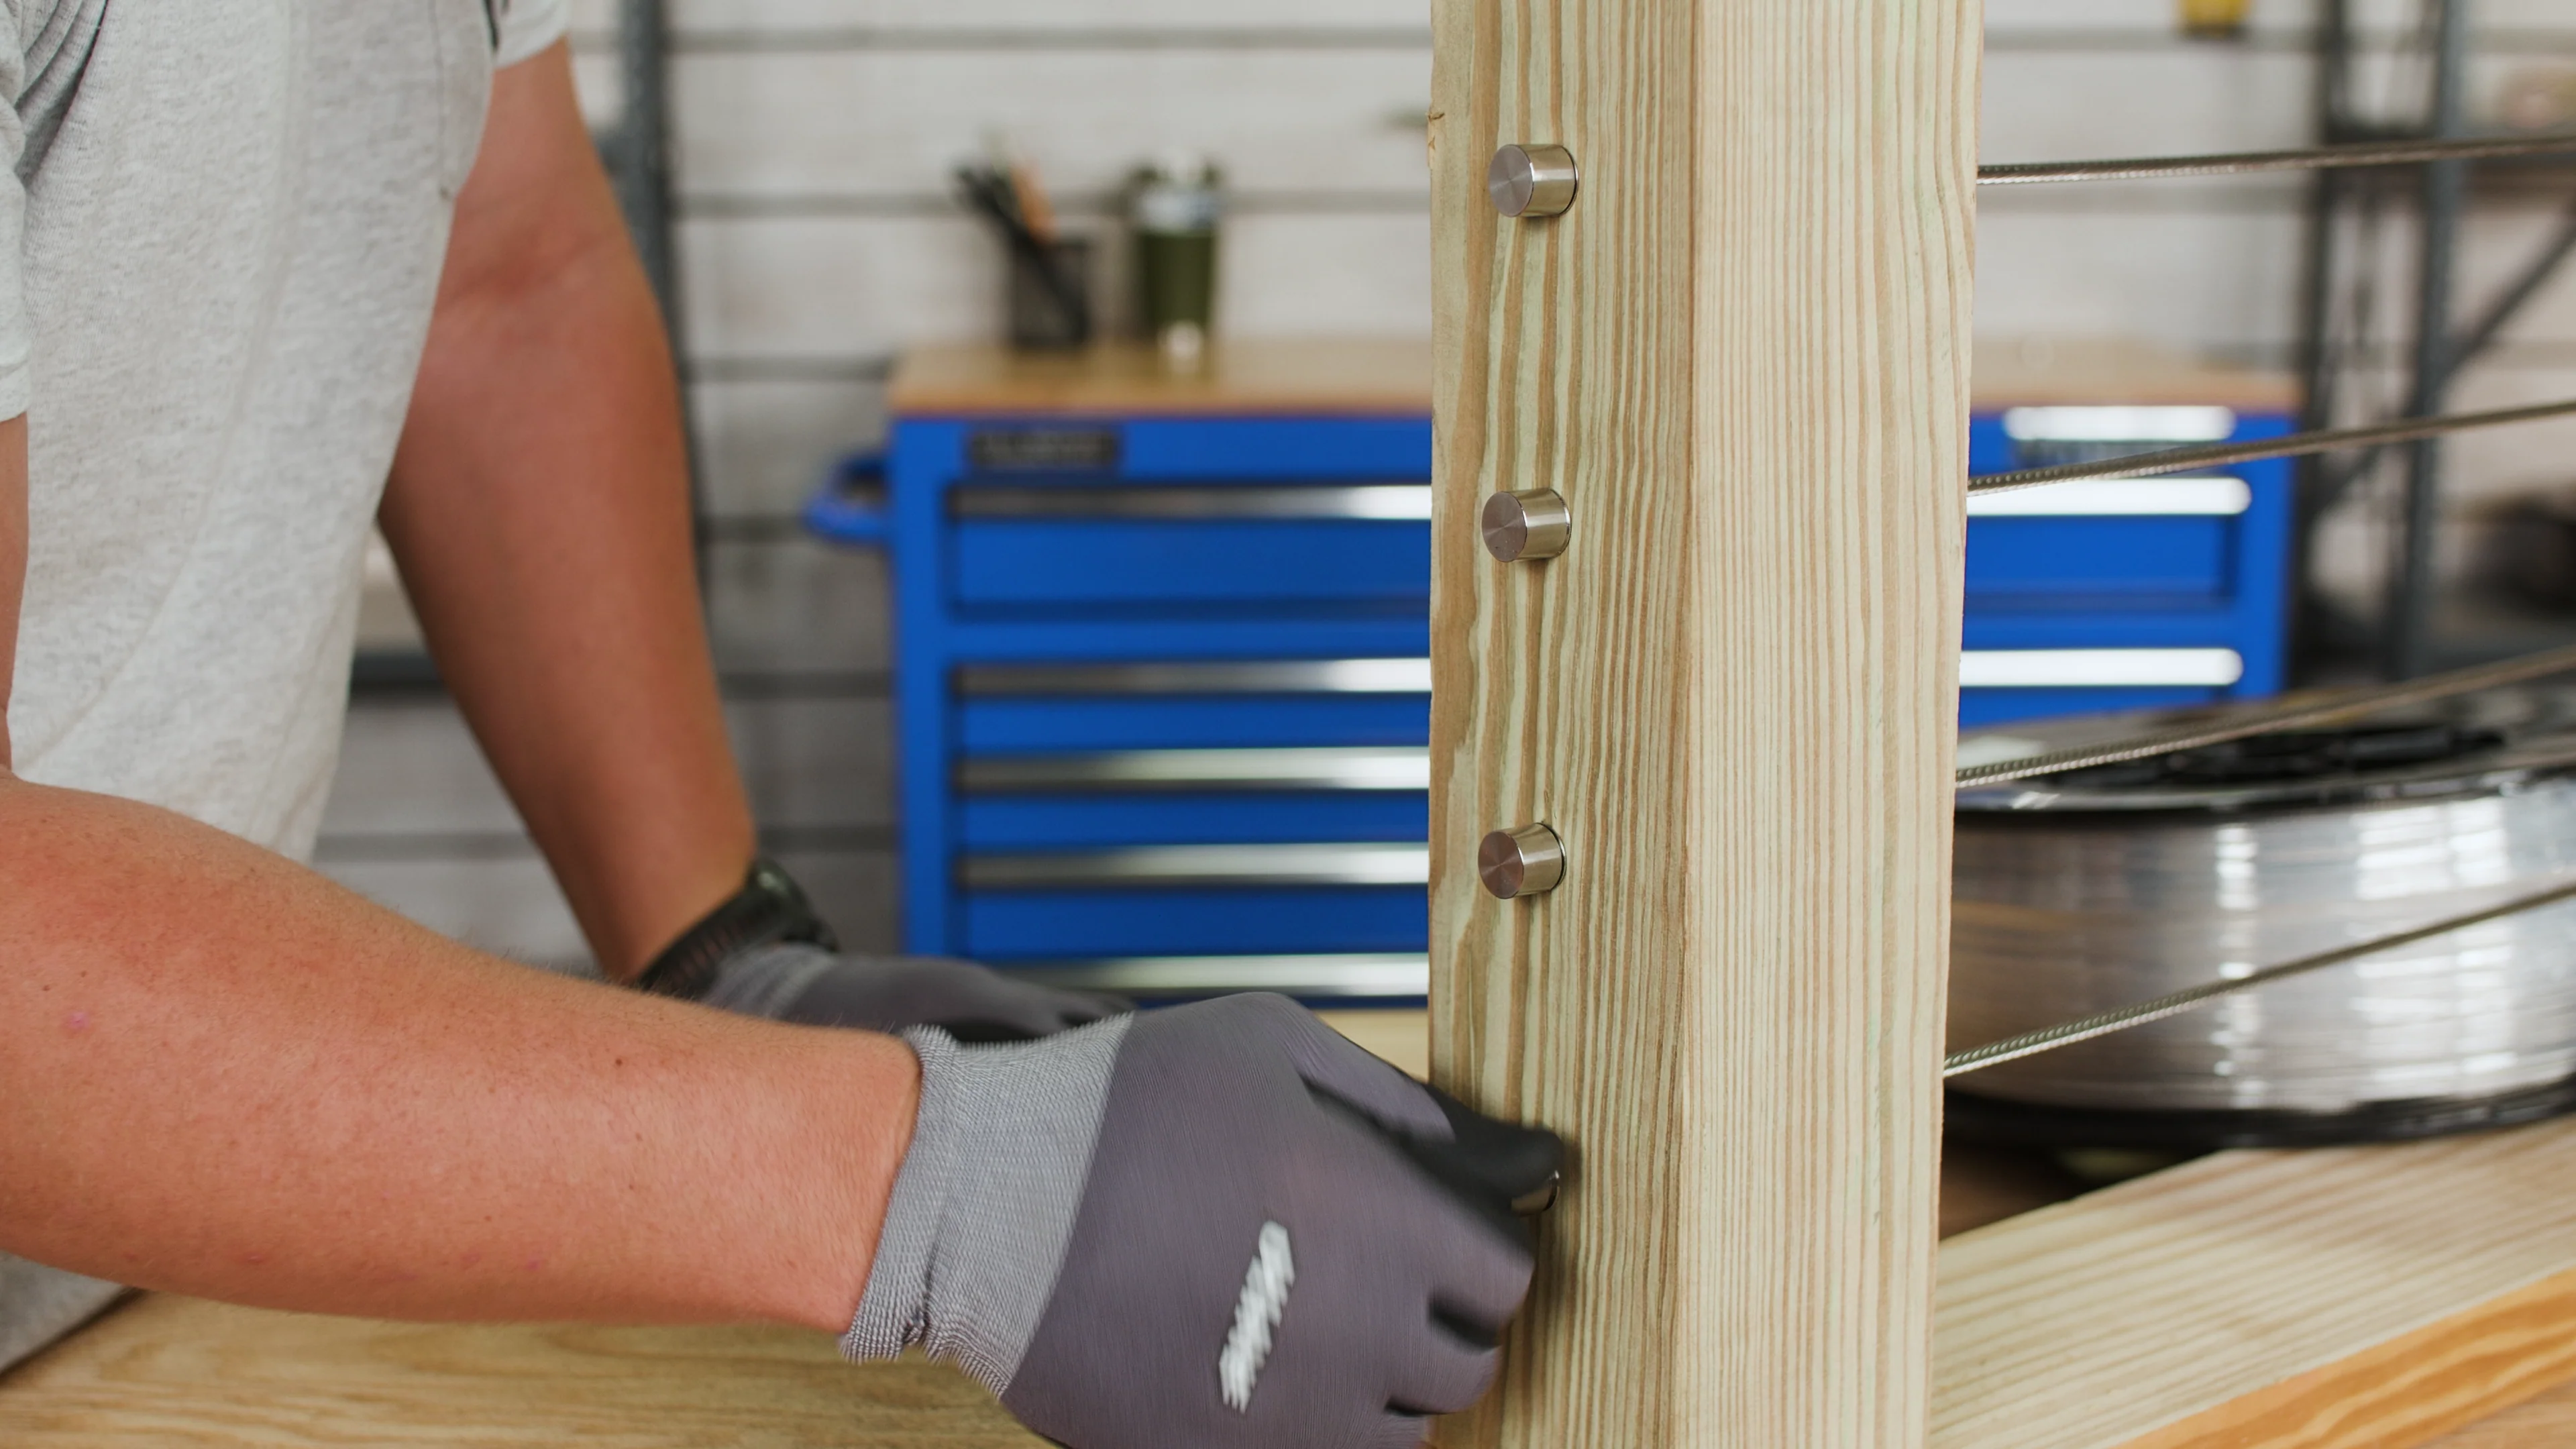
Lastly, grab your end caps and thread those on to each of your bushings.
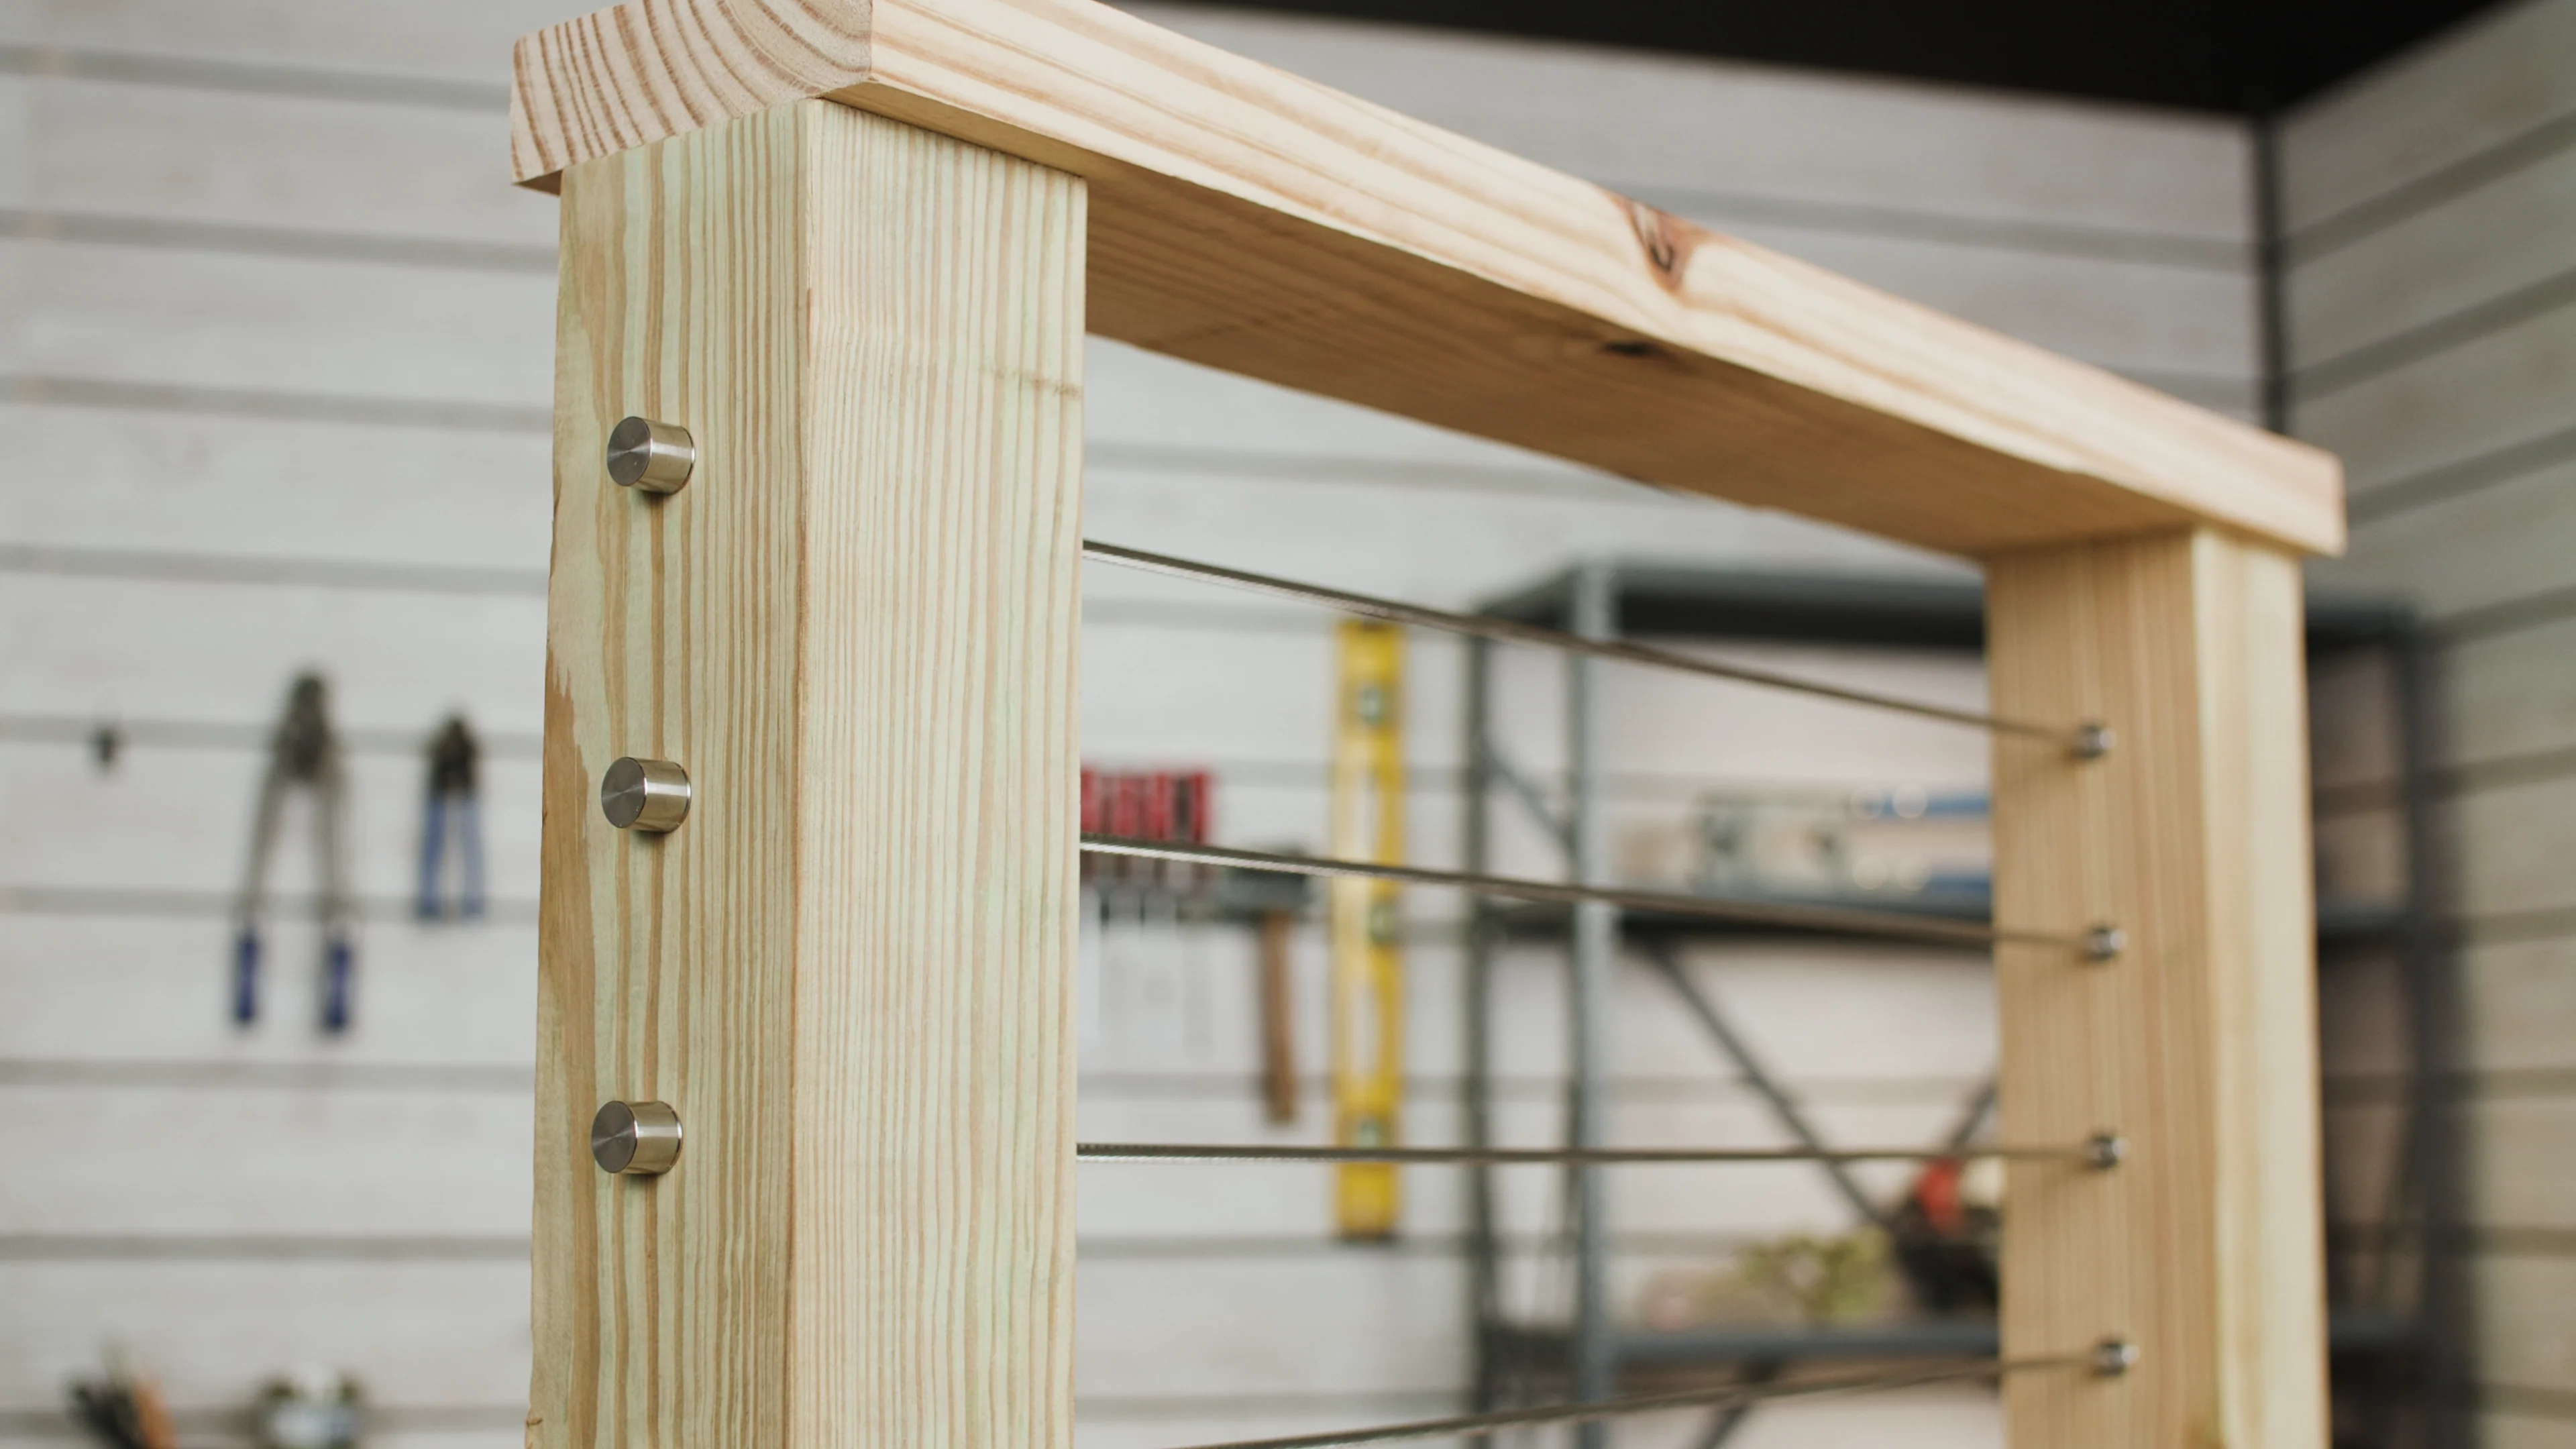
With the end caps threaded onto the bushings, this run is complete
Double Handles Kitchen Mixer Faucet
Kitchen Sink Taps is an economic Kitchen Faucet, Double Handles operate and cold valve core design. Outlet pipe can be 360 ° rotation, bubbler outlet water more lively and comfortable. Kitchen sink mixer is suitable for all kinds of kitchen sinks, single hole deck mounted installation.And the use of high-quality spool, you can also customize your favorite color
Double Handles Sink en Mixer Faucet,Double Handles Sink Kitchen Mixer,Double Handles Sink Kitchen Faucet,Double Handles Sink Kitchen Mixer Taps
WENZHOU CHENKAI SANITARY WARE CO.,LTD , http://www.cnchenkai.com